Account Info
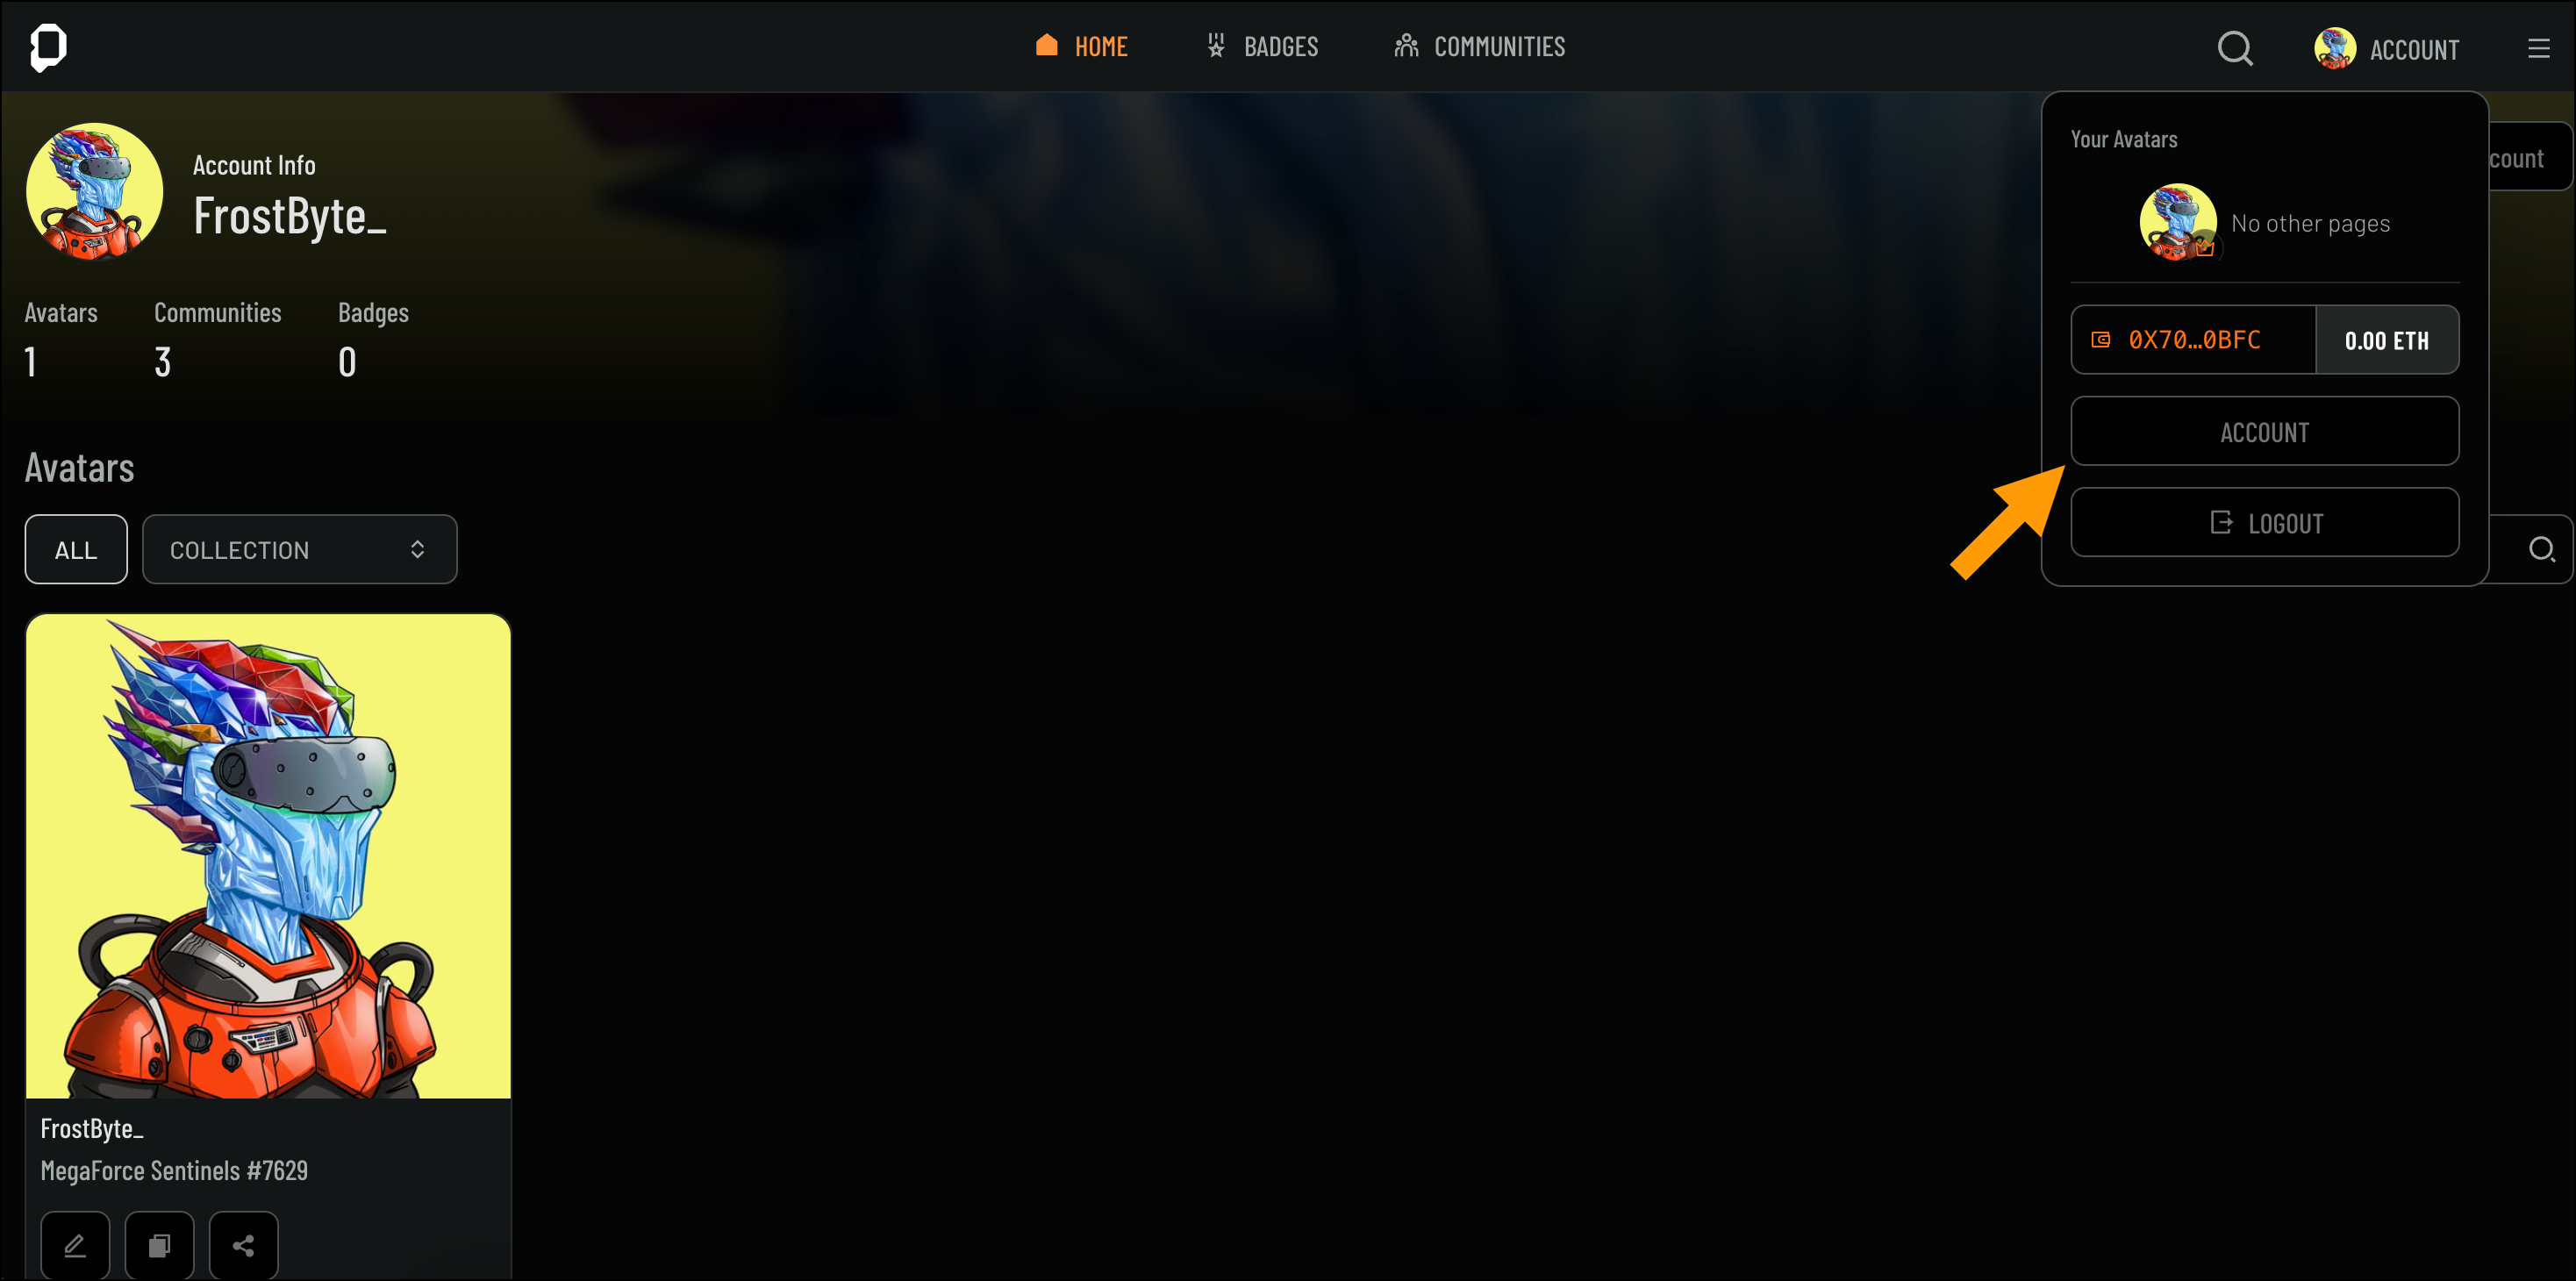
The Account page provides a centralized view of your profile and settings, allowing you to manage key aspects of your account. Here, you can view your account information, including your user ID and default avatar, manage linked wallets and social media connections, and review your current login sessions.- From the Home page, click Account from the top-left corner
- Select Account from the drop-down to open your Account page
Managing Connected Accounts
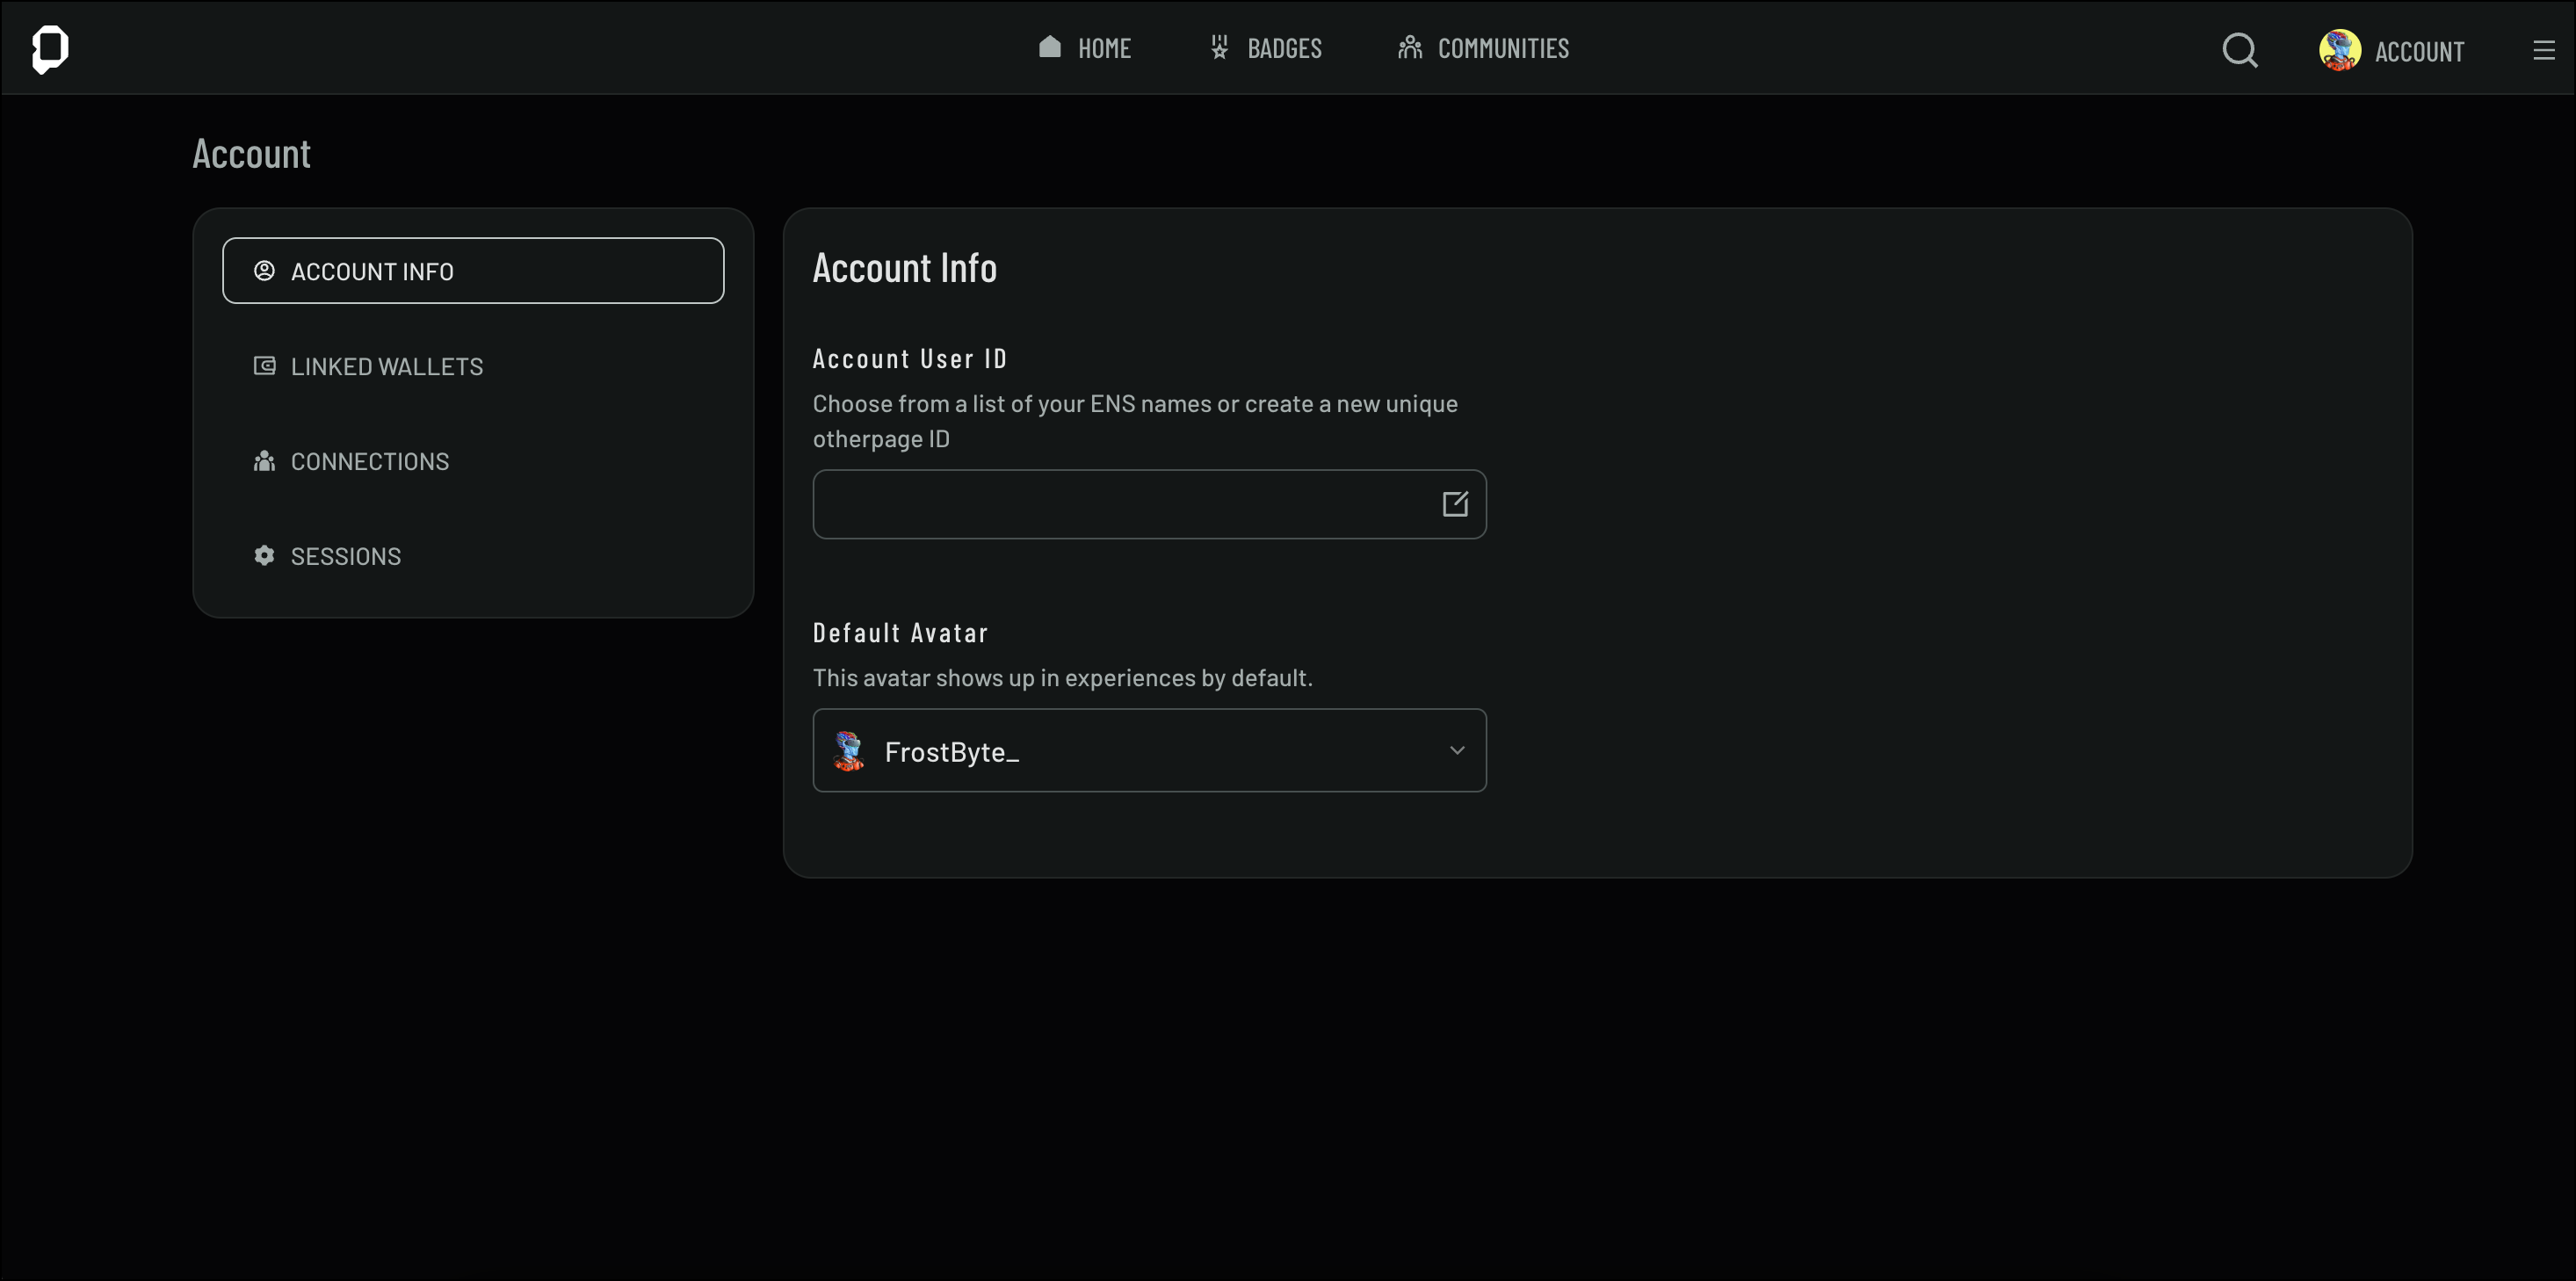
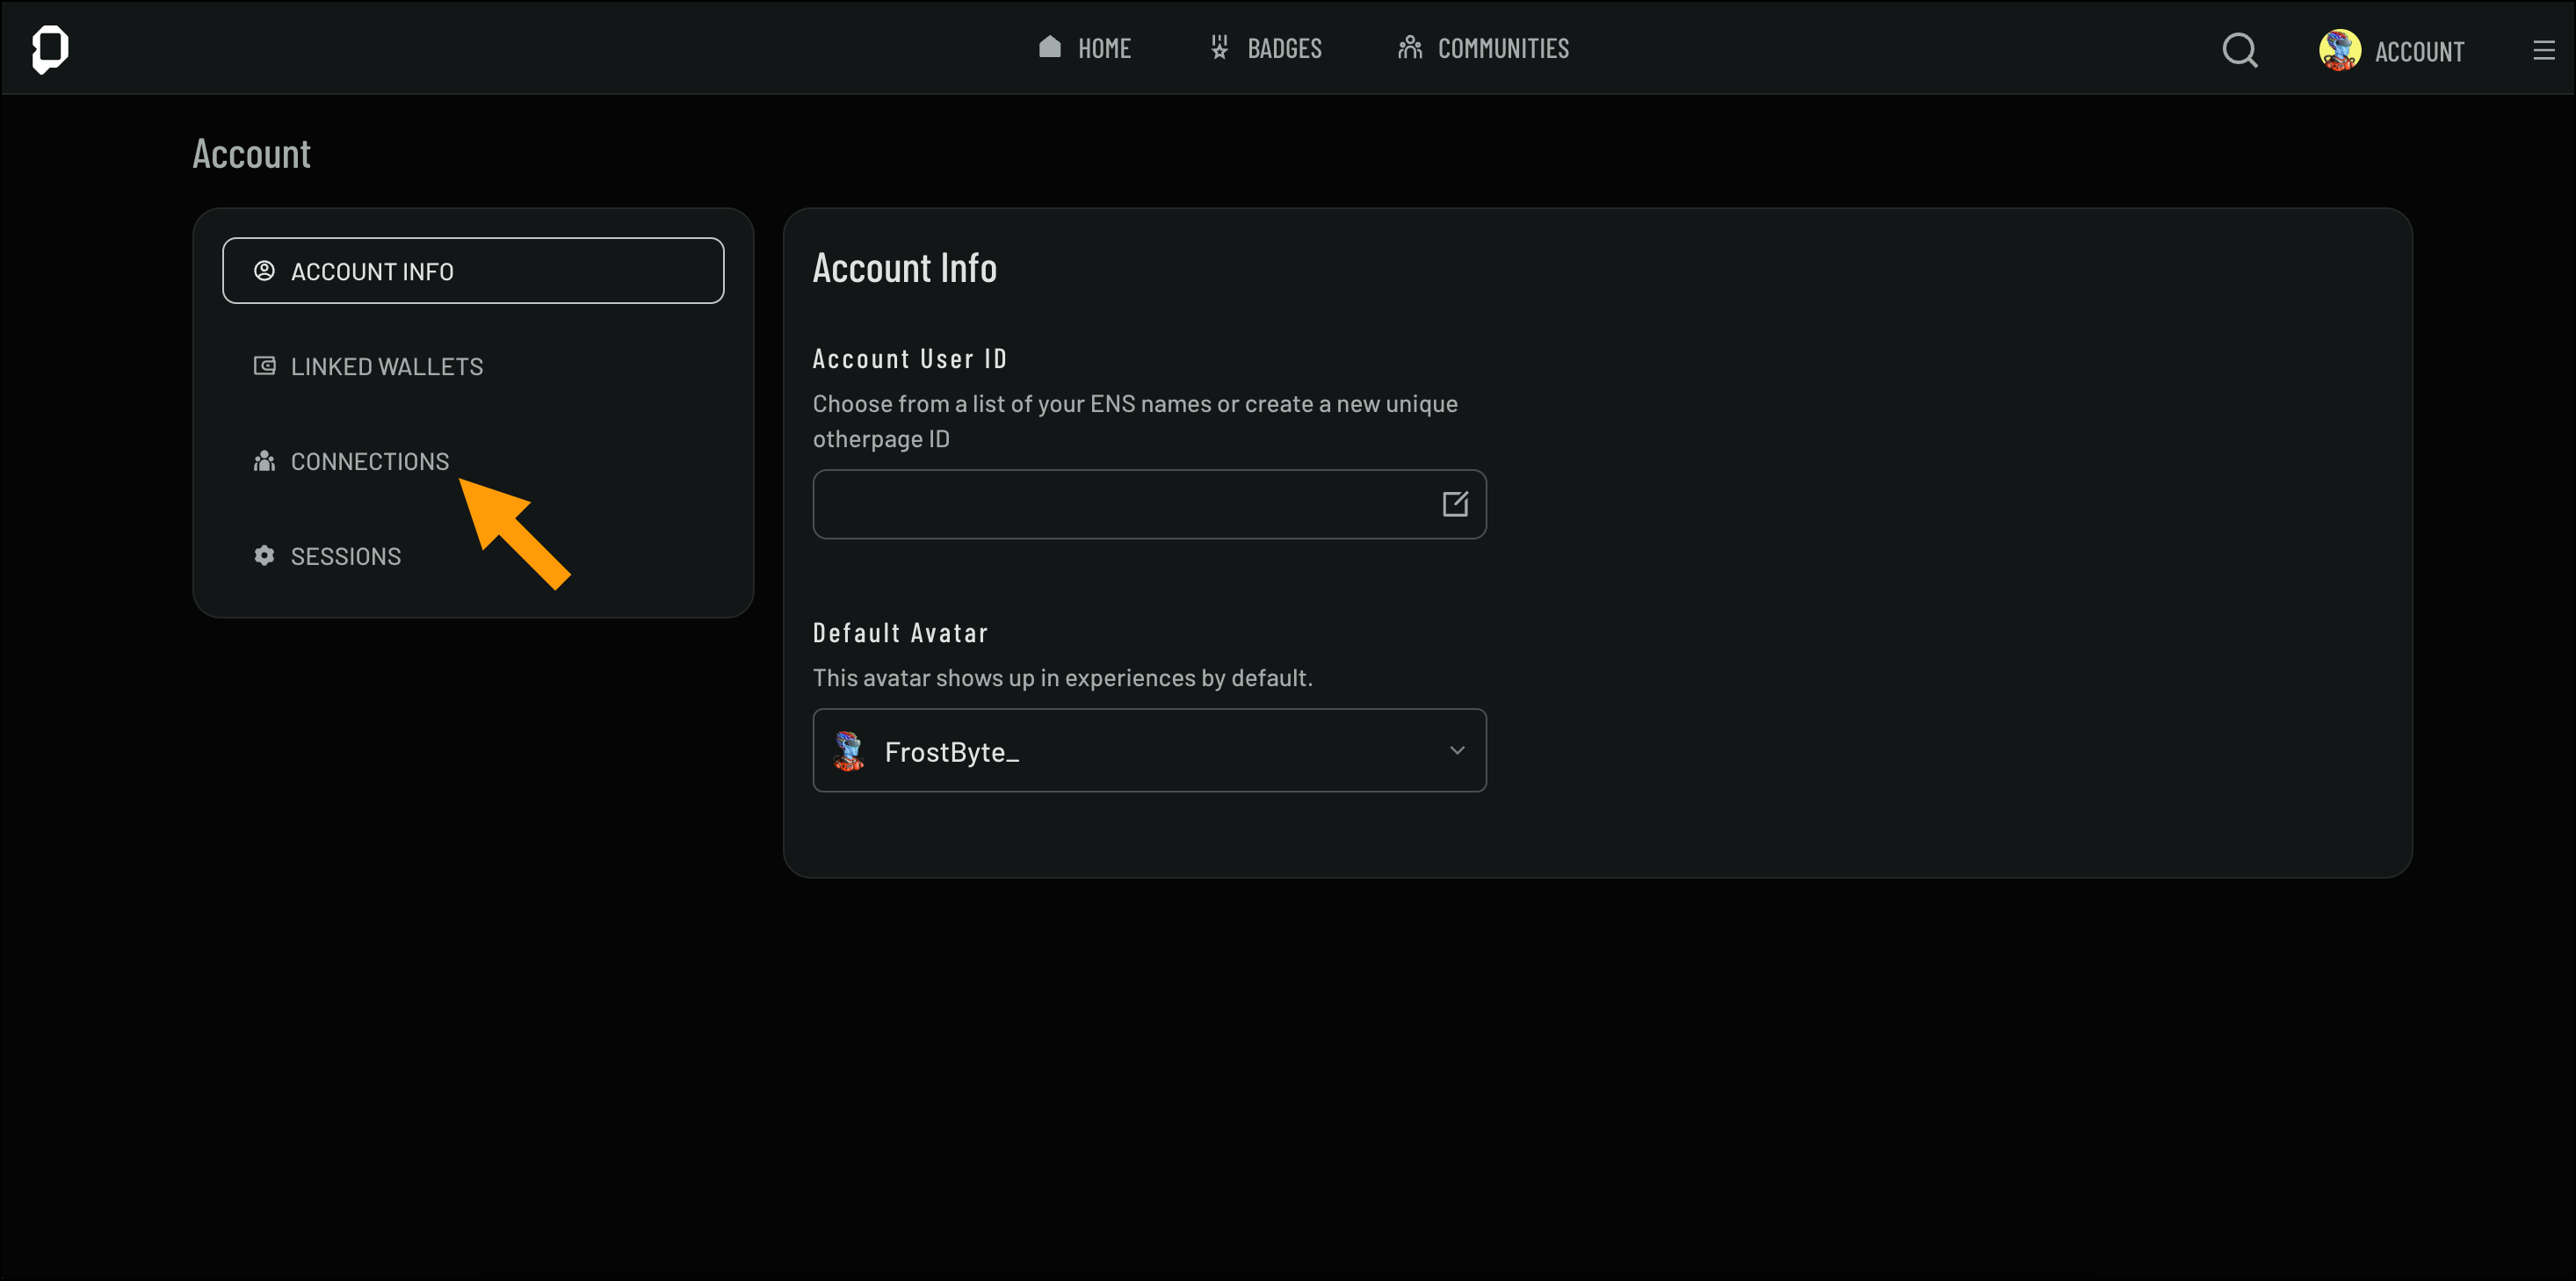
Easily link your social media and third-party accounts to your profile. This section guides you through adding, editing, and disconnecting accounts to streamline your online presence and ensure your connected profiles are up to date. To connect an account, follow these steps:- On the Account page, navigate to the Connections page using the left navigation
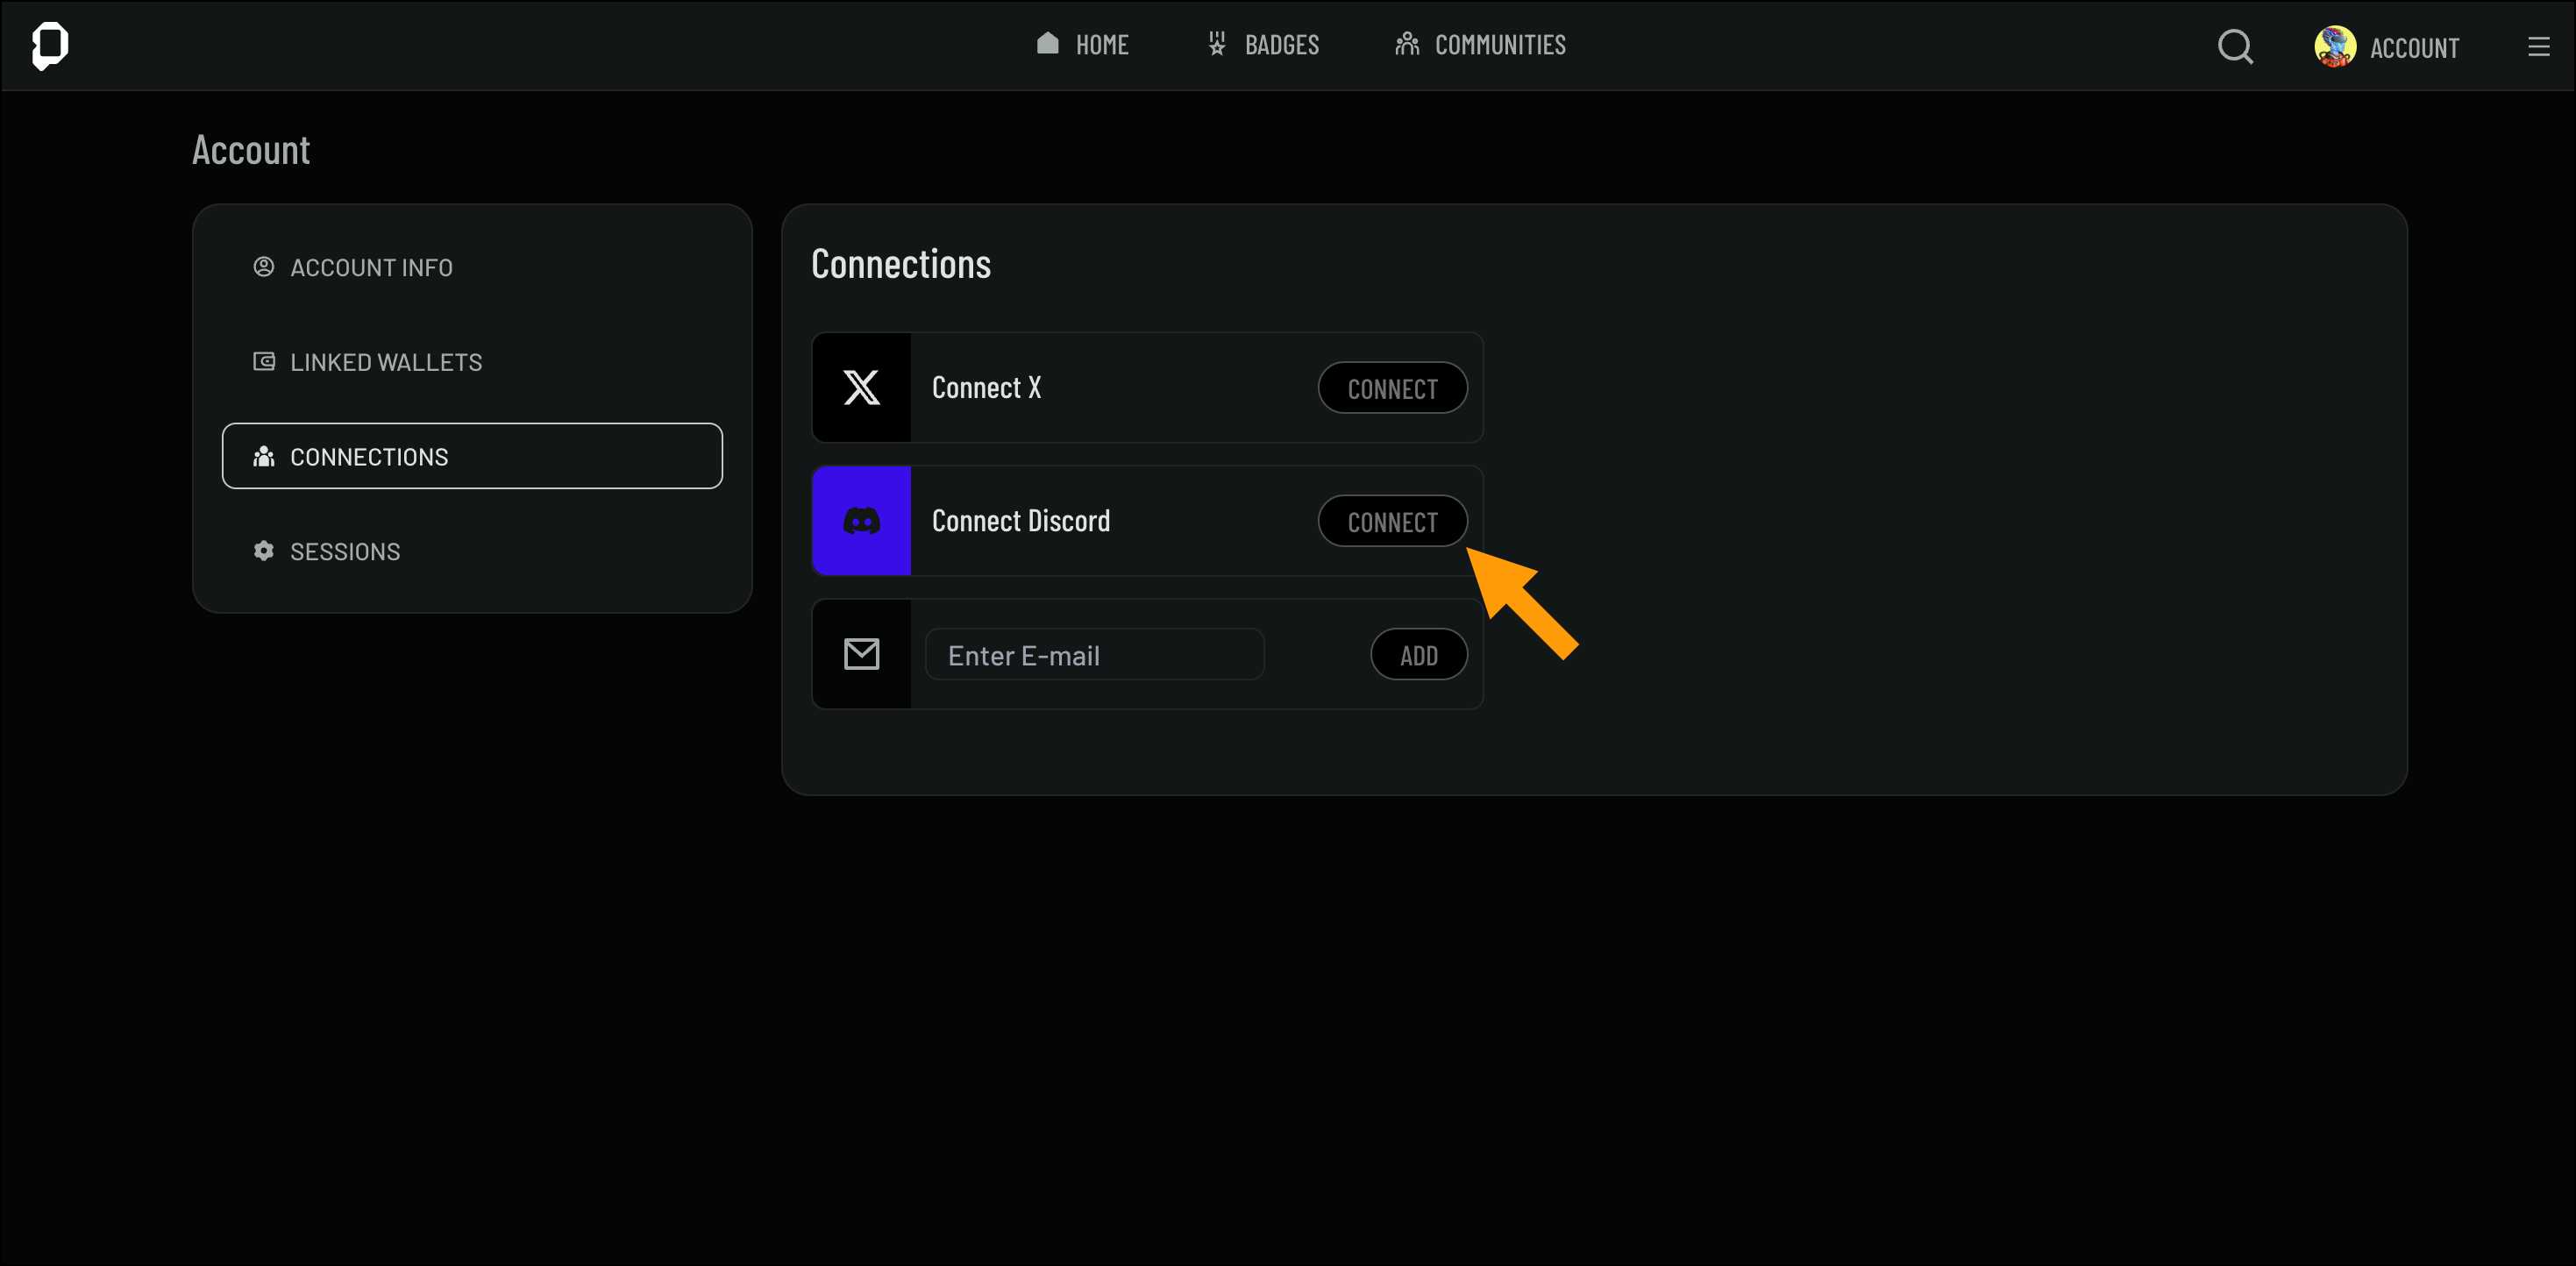
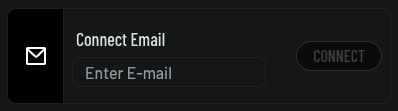
- Click Connect next to the social media account you’d like to add and follow the prompts
- On the Account page, navigate to the Connections page
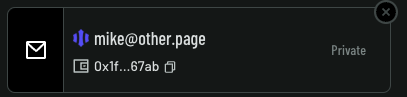
- Click the X next to the connected account you want to disconnect
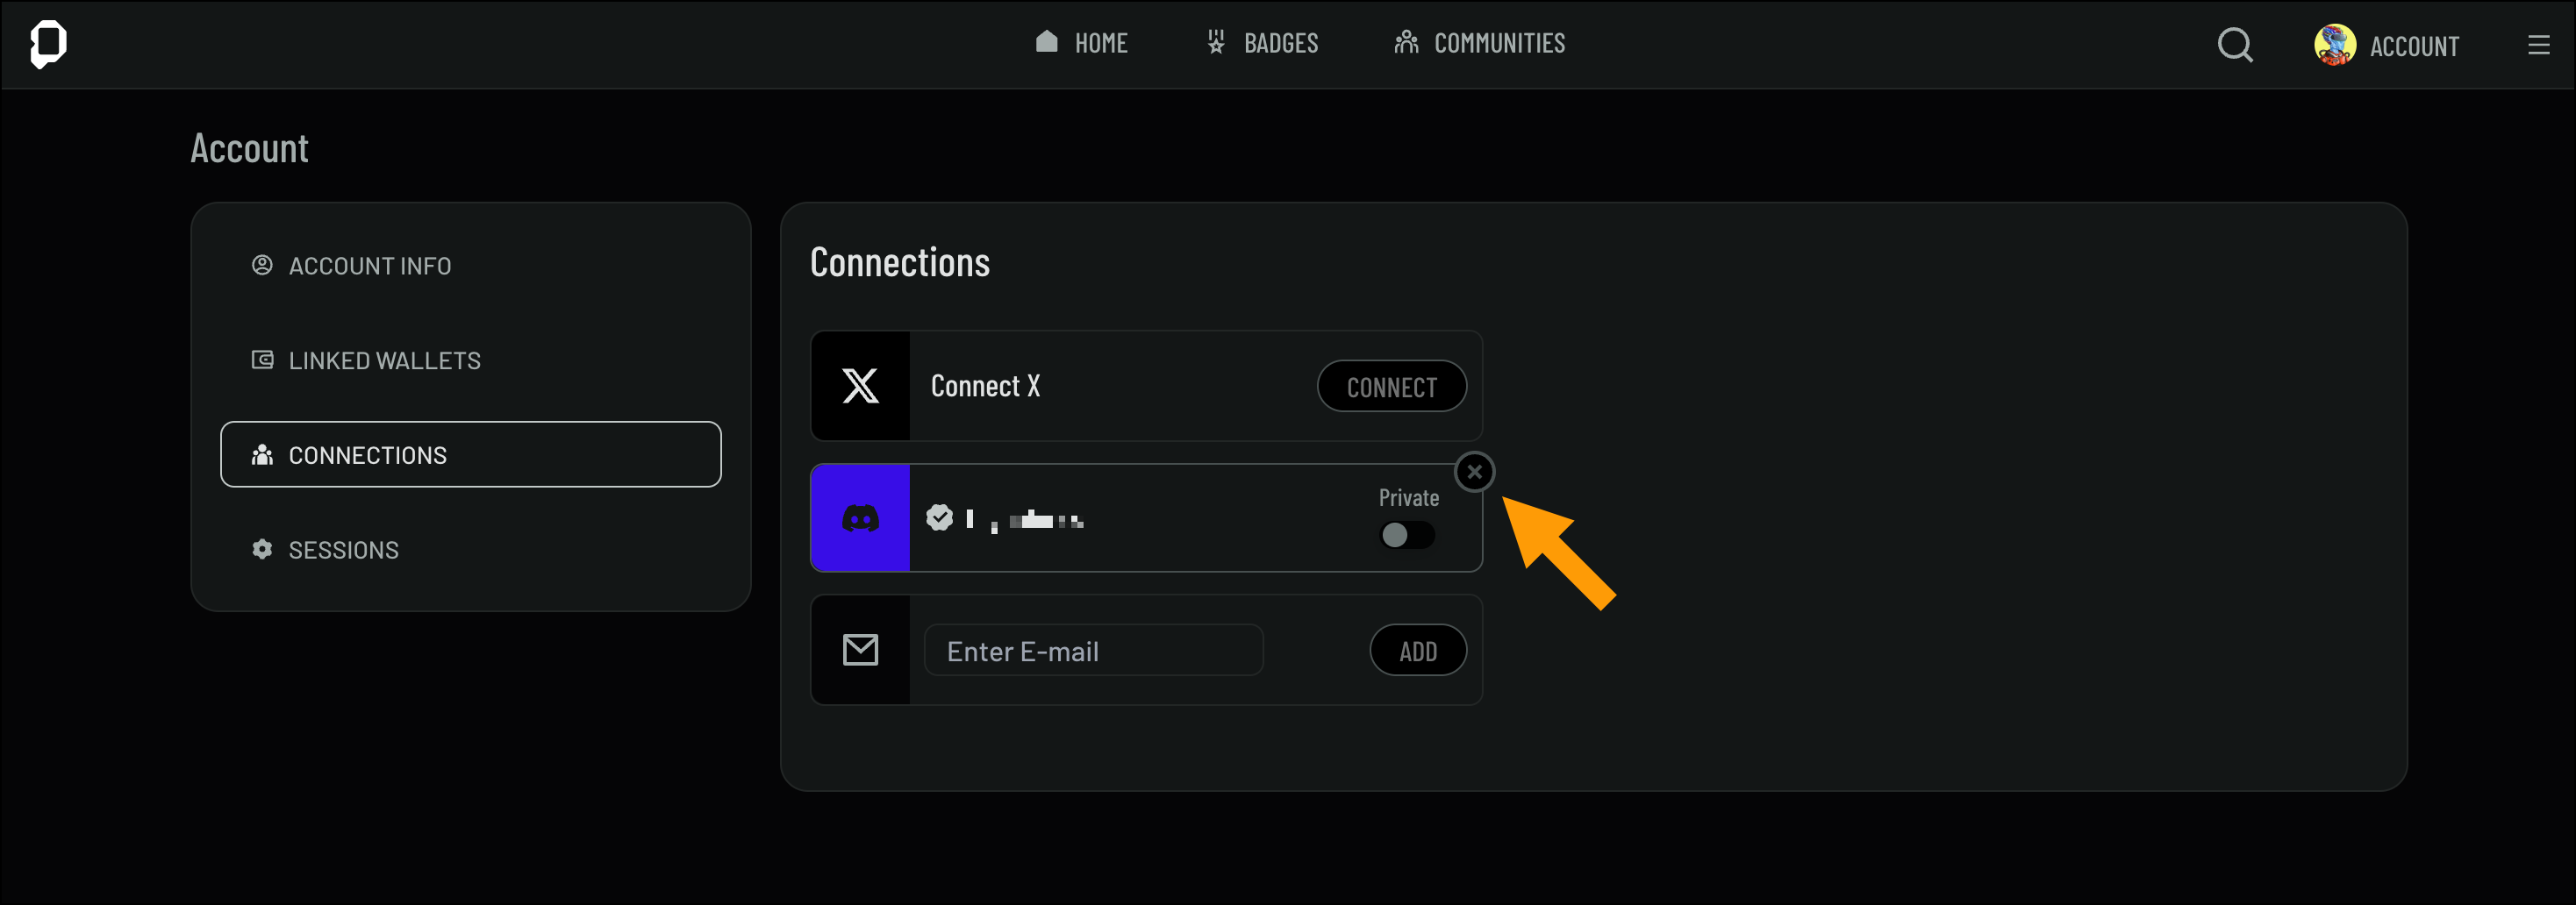
Set the visibility of your connected accounts by using the Private/Public toggle.
If you logged in for the first time using a Magic Link, the Magic Link address will be set as your primary wallet address. If you need to update your primary address in order to configure a new wallet for delegated wallet purposes contact support using the in-app chat (located at the bottom right).
Yuga ID
Yuga ID enables you to login to your account using your Yuga ID instead of a wallet signature. If you login or connect a Yuga ID, two wallet addresses will get automatically linked to your account.- Your default Privvy Wallet address tied to your Yuga ID.
- A smart account wallet address used to sponsor gas for your Yuga ID.

If you logged in for the first time using a Yuga ID, the default Privy Yuga ID address will be set as your primary wallet address. If you need to update your primary address in order to configure a new wallet for delegated wallet purposes contact support using the in-app chat (located at the bottom right).
Managing Linked Wallets
Manage your linked wallets by adding, editing, or removing them from your account. You’ll also learn about wallet compatibility and security features like delegation, ensuring a secure connection between your profile and your digital assets.Wallet Compatibility
Ensure that your wallet is compatible with the system before connecting it. We support most EVM compatible wallets. Including but not limited to:- MetaMask
- Coinbase Wallet
- Rabby Wallet
- Rainbow Wallet
- Phantom Wallet
- etc.
Connecting a Wallet
To connect a wallet, follow these steps:- On the Account page, navigate to Linked Wallets page
-
Click Connect (or disconnect if already connected to connect a new wallet).
- Follow the prompts to complete the process

Wallet Delegation
Wallet delegation allows you to grant control to another account or service for specific tasks without transferring full ownership of your wallet. Using trusted third-party services like delegate.xyz or warm.xyz, you can securely delegate specific actions, ensuring that your sensitive wallet credentials remain safe. It’s important to understand the scope of permissions granted during delegation and always ensure you’re delegating to a trusted service or individual to maintain control over your assets.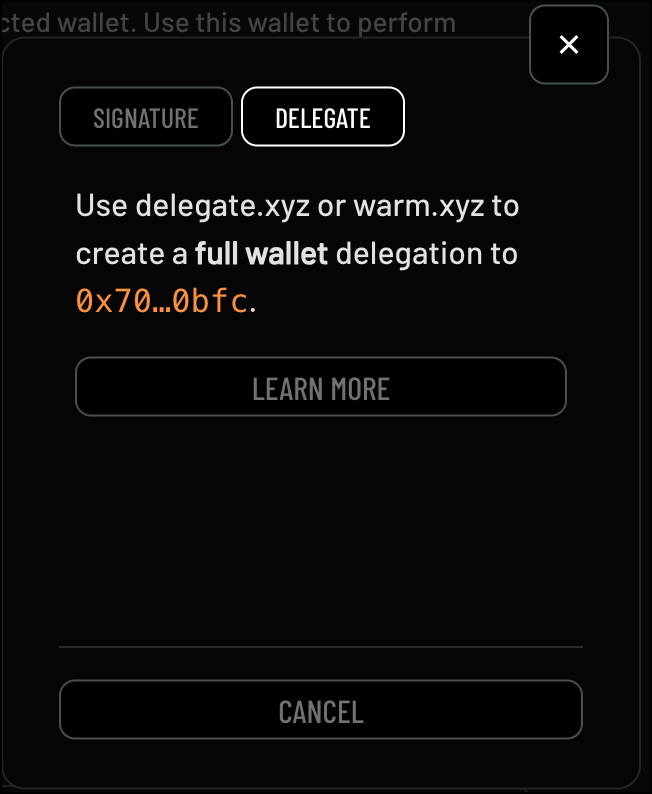
For security reasons, OpenPage only supports FULL WALLET delegation, not single NFT delegation. In addition, delegations will only be pulled from the primary wallet address. If you need to change your primary wallet address to adjust which delegated wallets are added to your account please contact us using the chat button (located at the bottom right).
- On the Linked Wallets page
- Click Add Wallet
- Choose one of the following options:
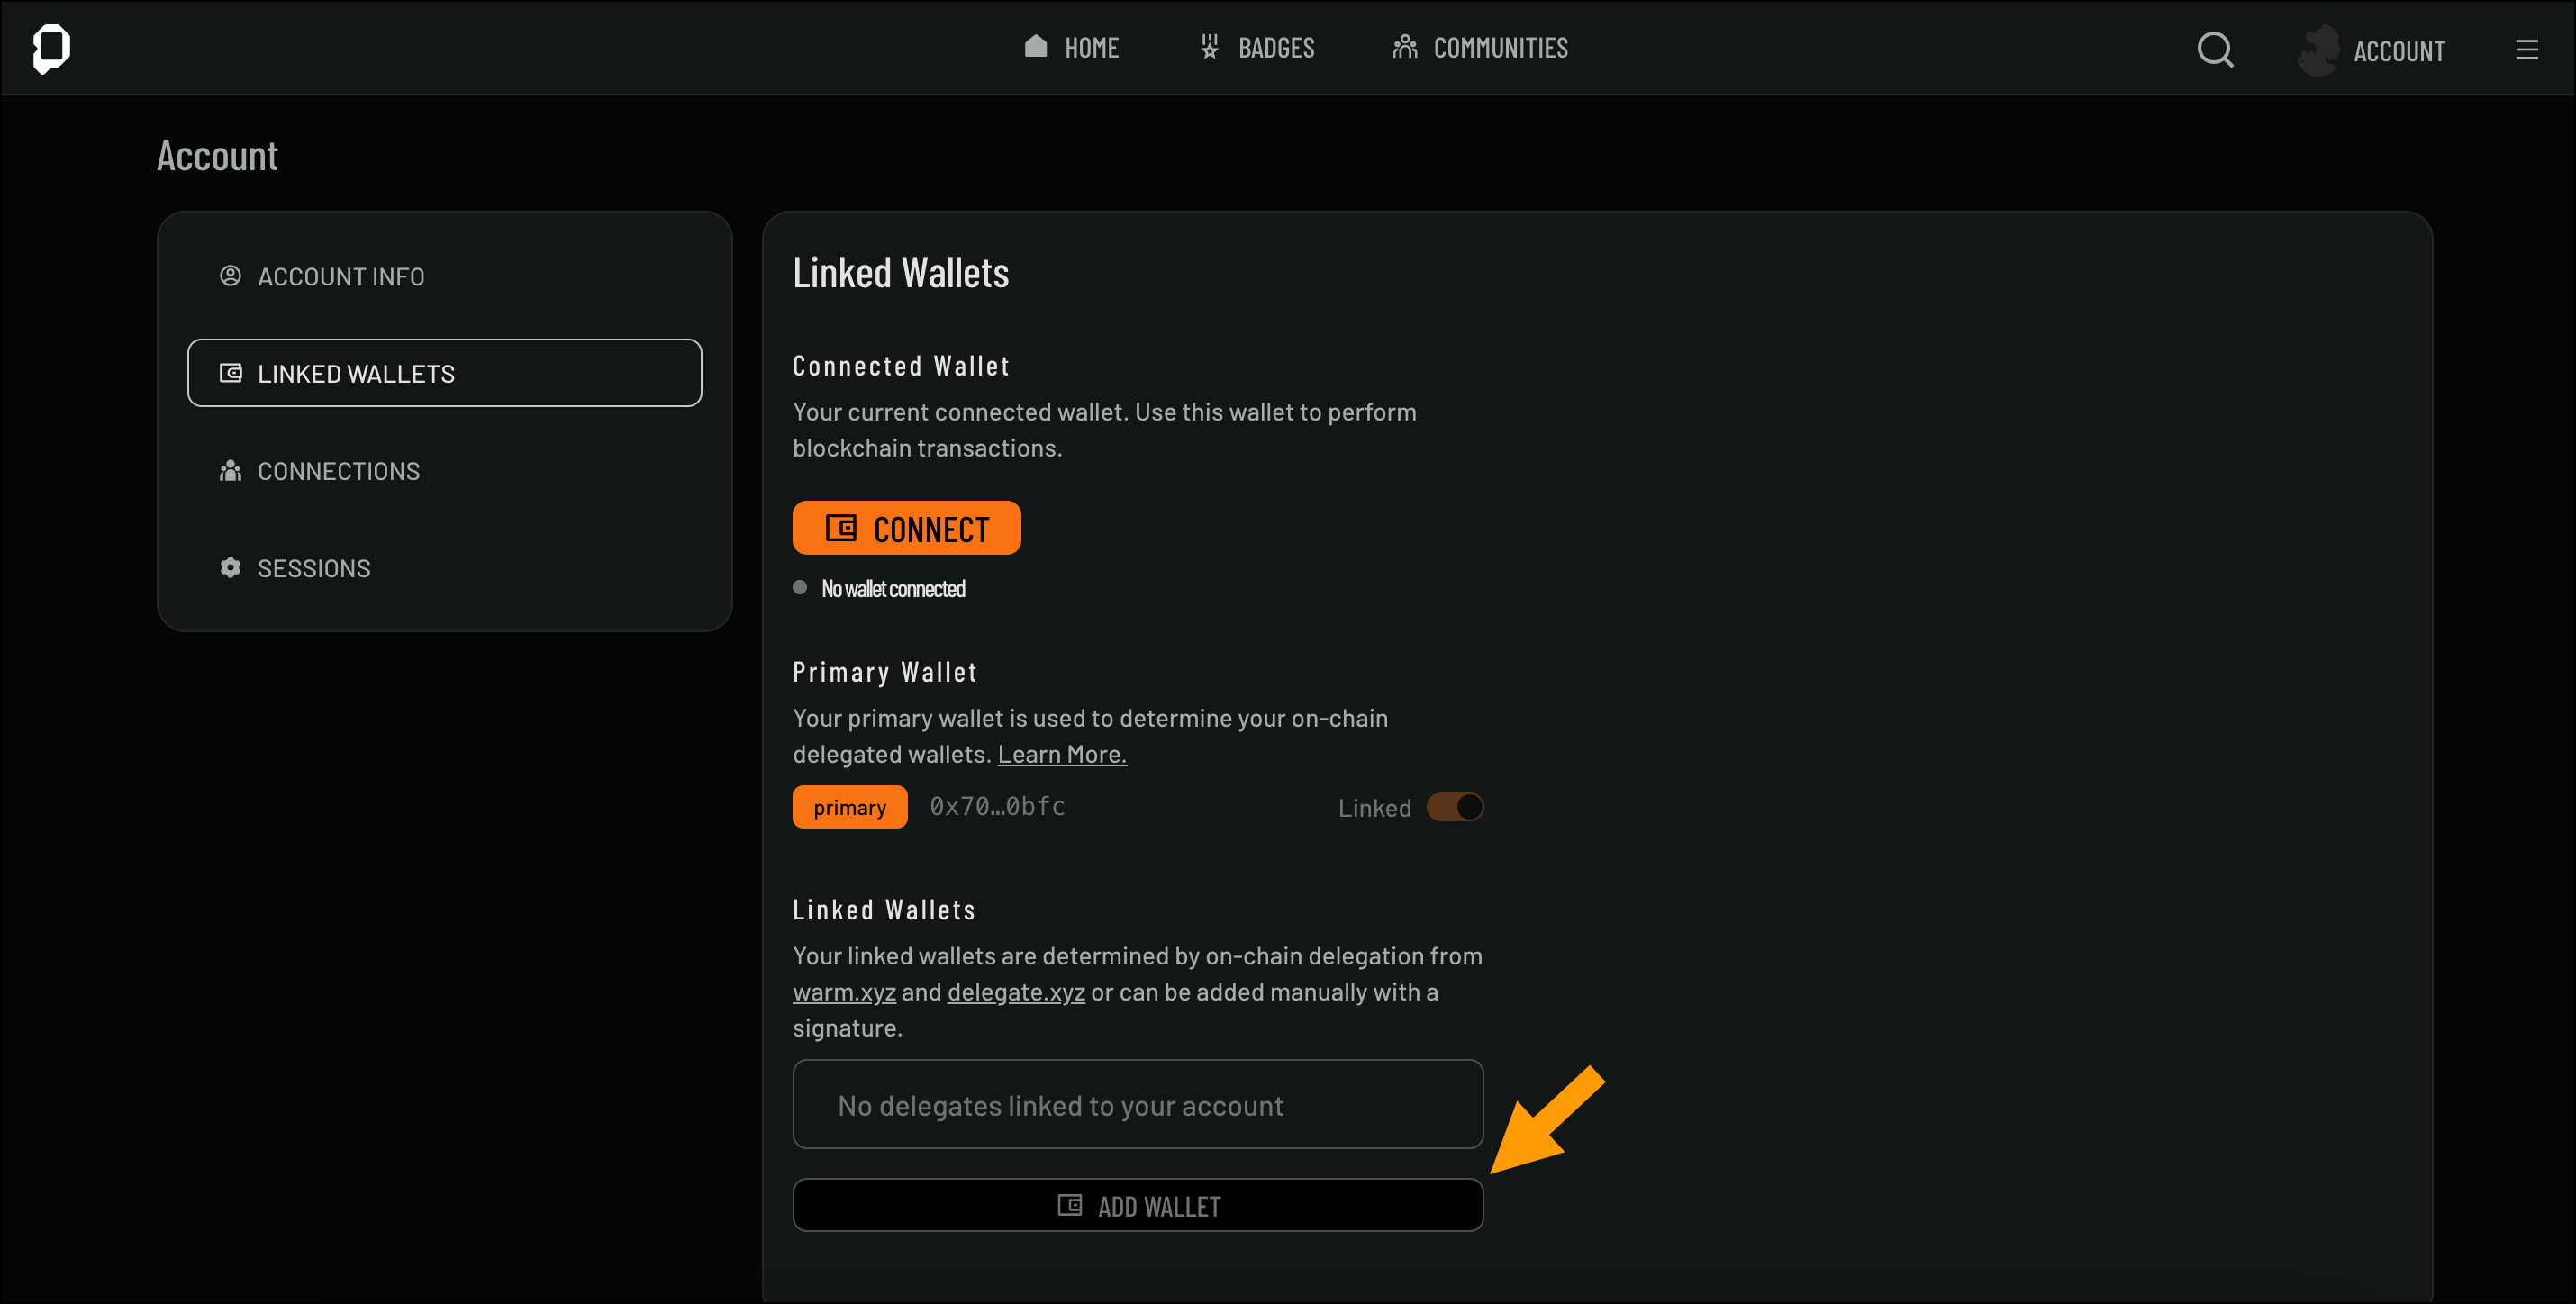
- Signature
- Delegate
Use your wallet signature to verify and connect
- Follow the prompts to complete the process
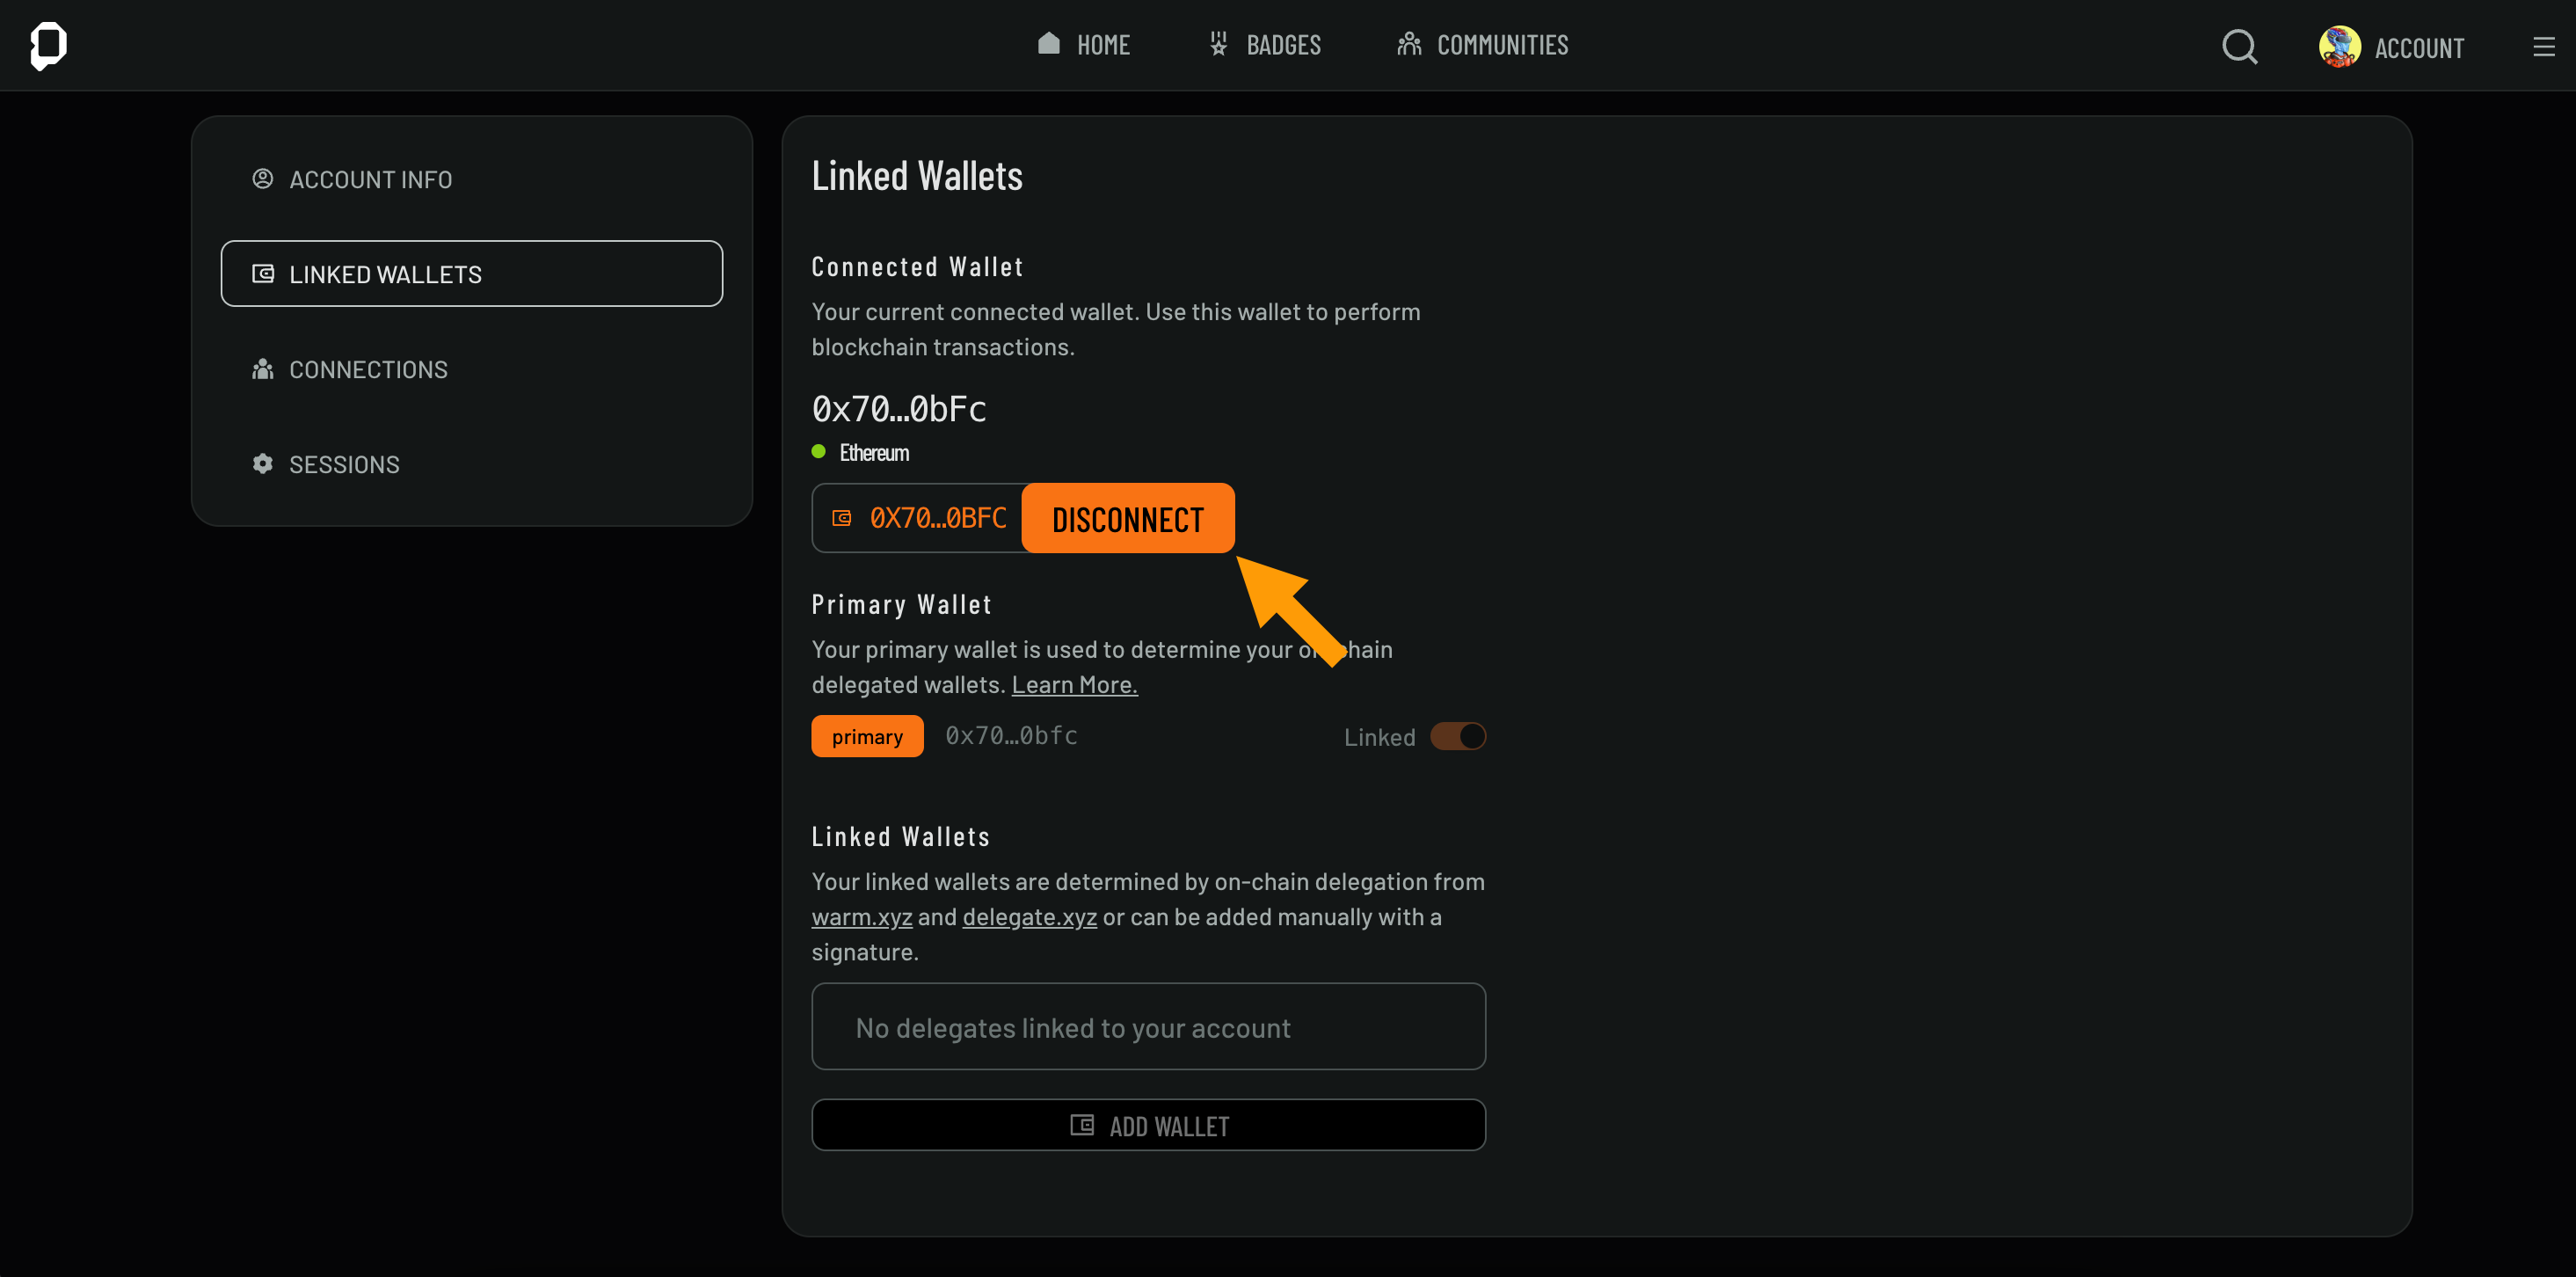
Disconnecting a Wallet
To disconnect a wallet, follow these steps:- On the Linked Wallets page
- Click Disconnect
Once you selected Disconnect Wallet, and would like to add a new wallet click Connect Wallet.