Creating an Avatar Profile
The Avatar Profile allows you to create a personalized representation of yourself using NFTs from your collection. Your avatar is your identity within the Open Metaverse, allowing you to connect to various experiences. This guide walks you through the process of setting up your Avatar Profile. Follow these steps to create your Avatar Profile using an NFT from your Avatar Collection:- From the Home page, scroll down to the Avatars section
- Select the NFT you’d like to use for your Avatar Profile and click Create Page to begin
- Enter a name for your Avatar in the Name field
- Add a description for your Avatar in the Bio field
- Click Save to store your Avatar’s information
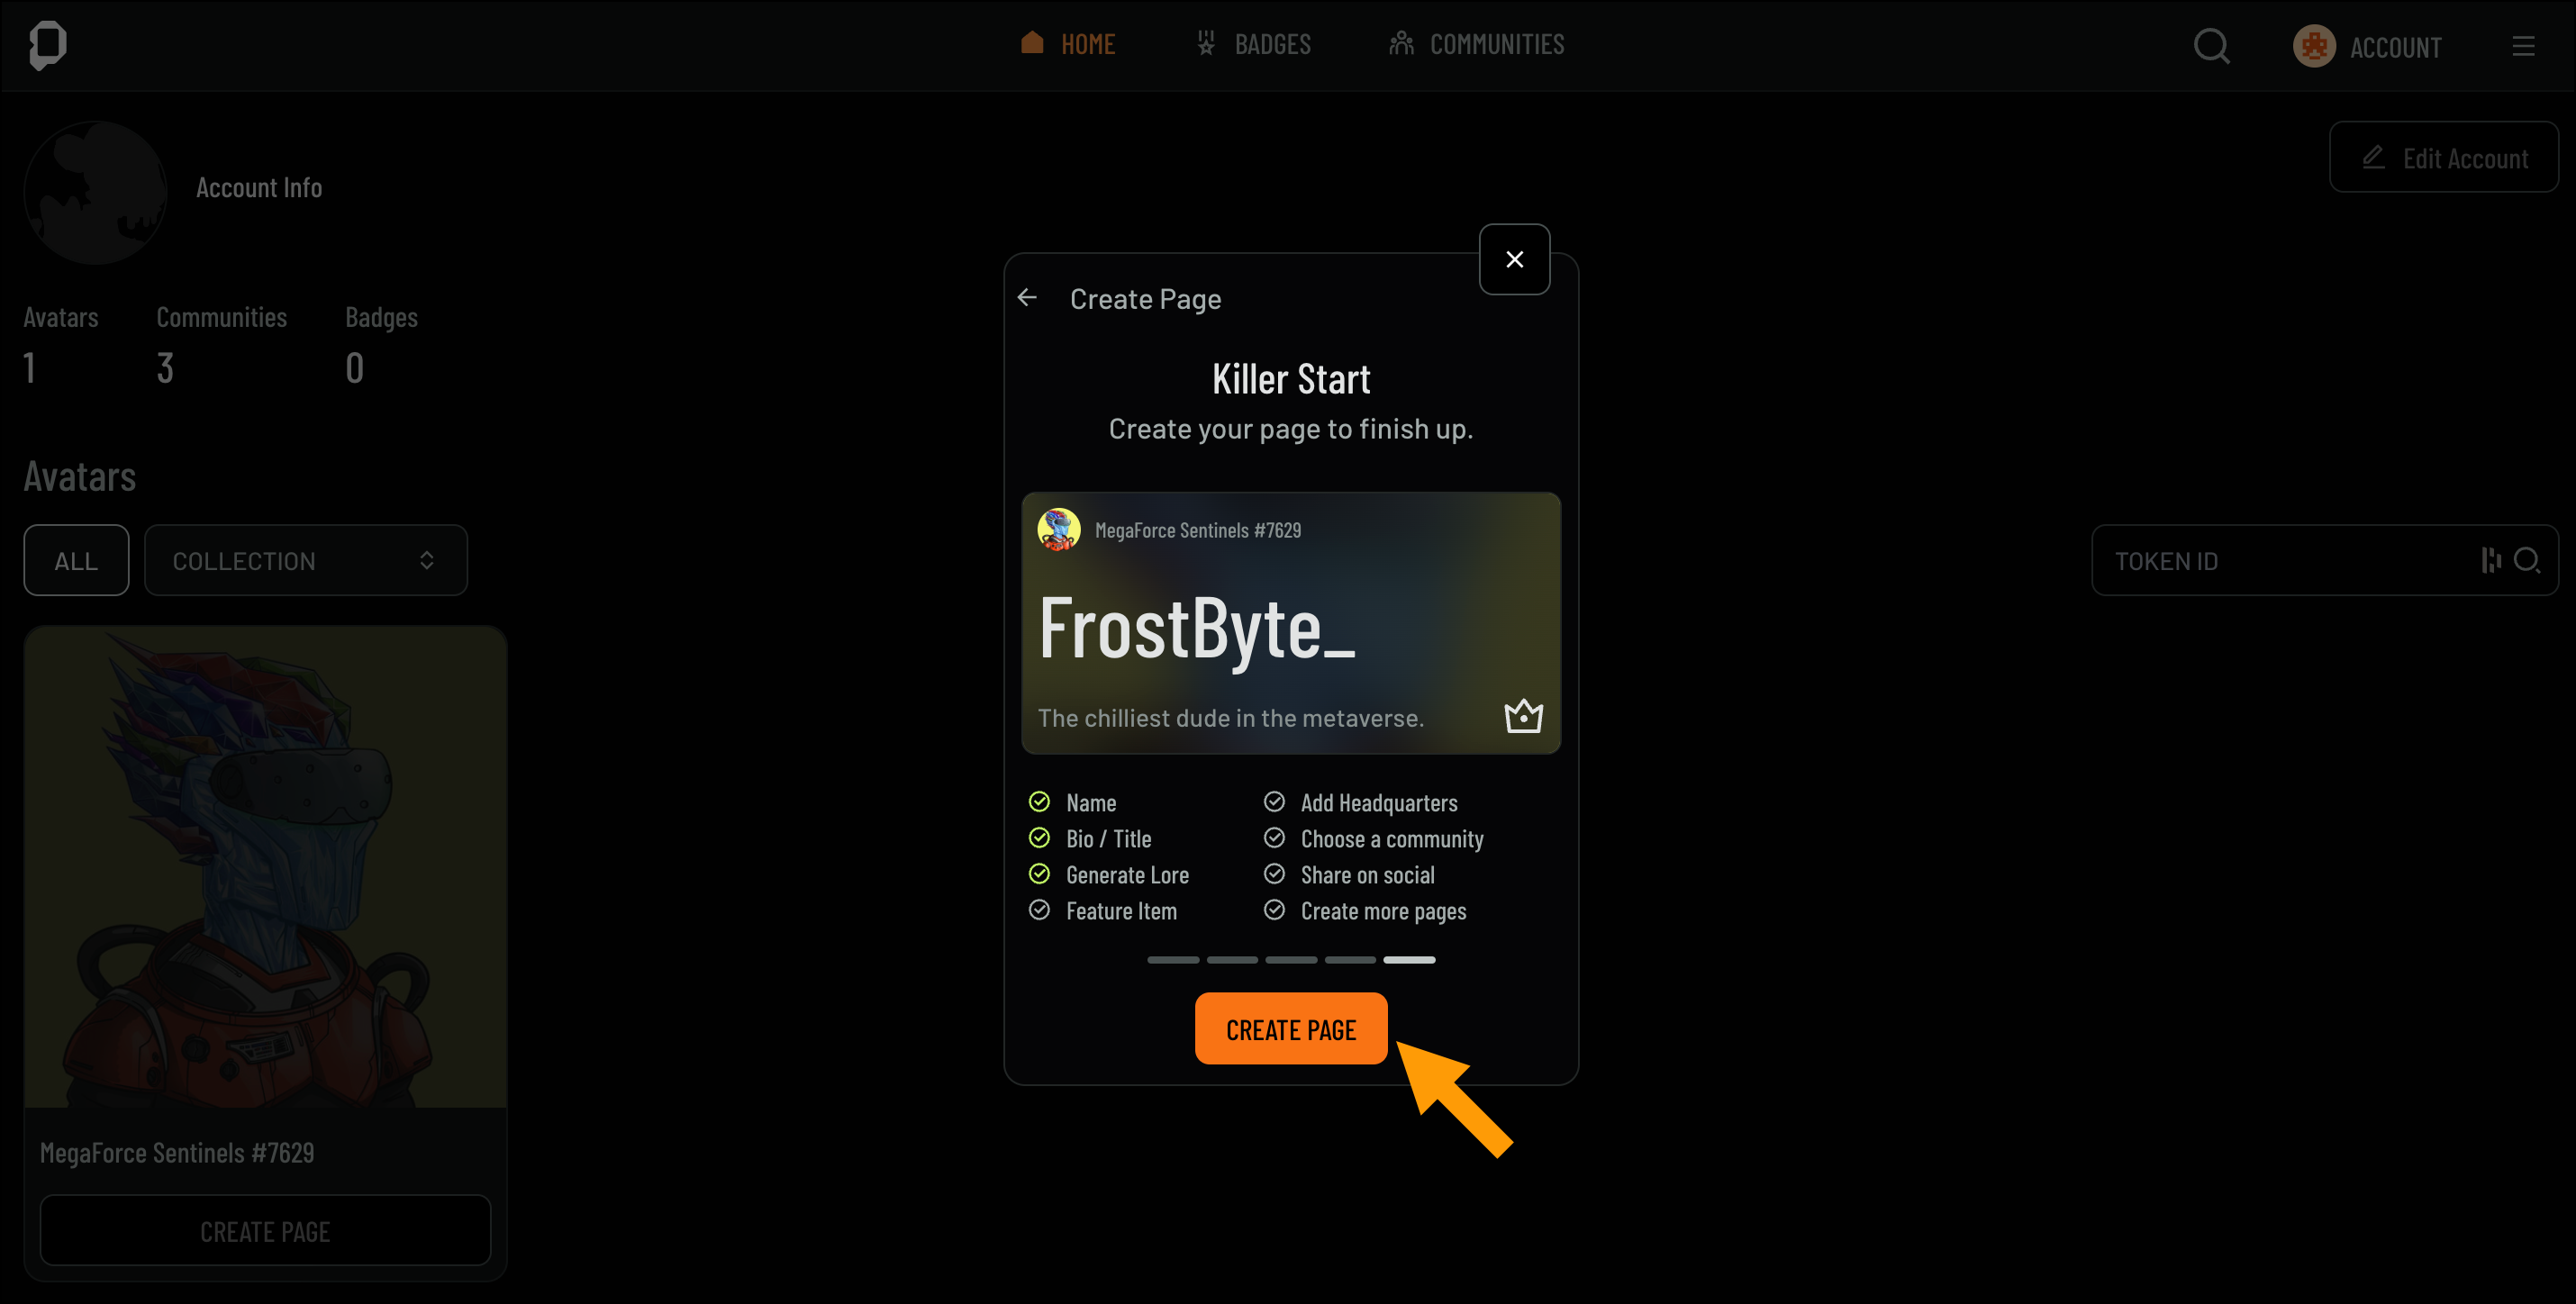
- Review the details on the Create Page screen
- If everything looks correct, click Create Page to finalize your Avatar Profile
Optional: Enter a referral code if you were referred to OpenPage by someone, if not skip.
Customizing Your Avatar Profile
Now that you’ve created your Avatar Profile, it’s time to make it truly yours by personalizing different aspects of your profile. You can edit everything from your avatar picture and social media links to showcasing NFTs and badges. This section will guide you through the various options available for customization, helping you create a profile that reflects your identity within the Open Metaverse. Below is a breakdown of each customizable area:
1. Avatar Details & Lore
1. Avatar Details & Lore
In this section, you can customize your avatar picture, update the name displayed on your profile, and manage your social media links. You also have the option to edit your profile background, giving your avatar a personalized look.To edit your Avatar Details, follow these steps:
- Navigate to the Avatar Details section
- Click Edit
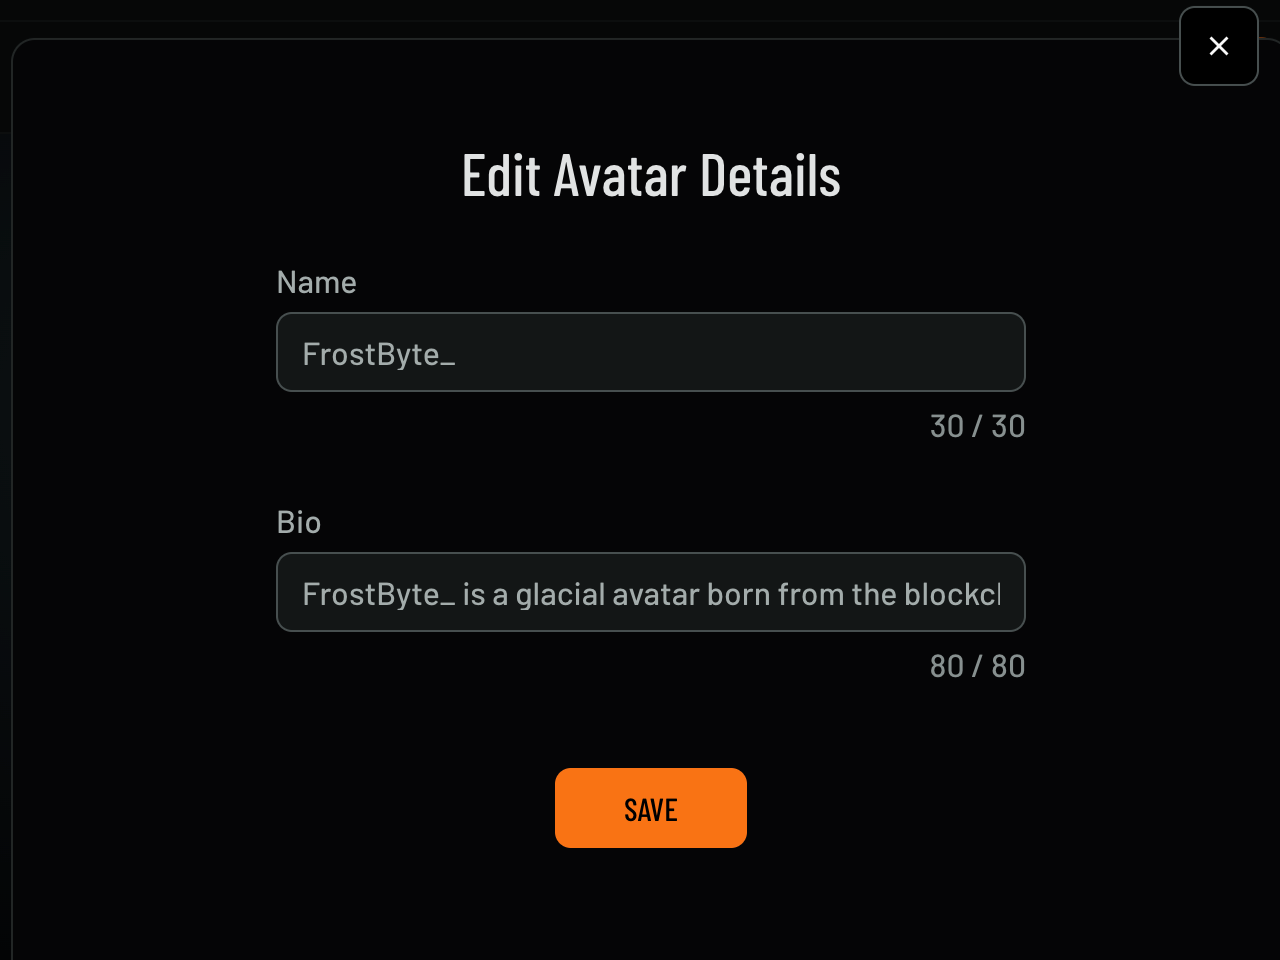
- The Edit Avatar Details screen will appear
- Enter a new name in the Name field if you’d like to change it
- Add or update the bio in the Bio field if needed
- Click Save to apply your changes
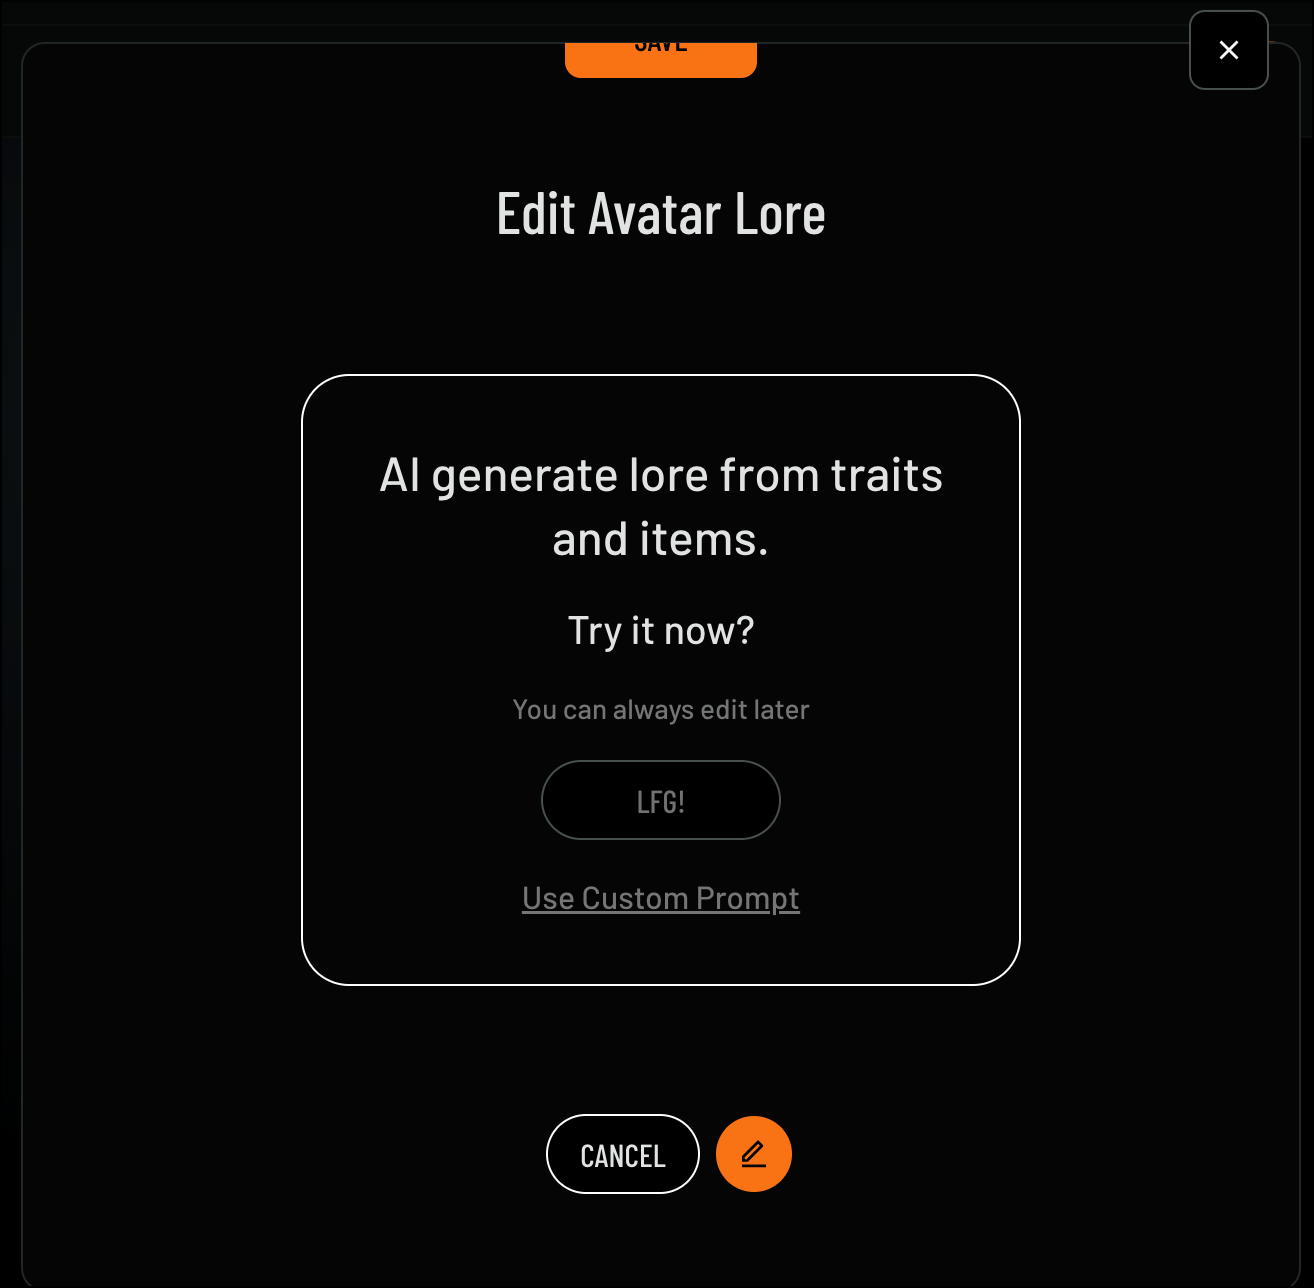
Lore
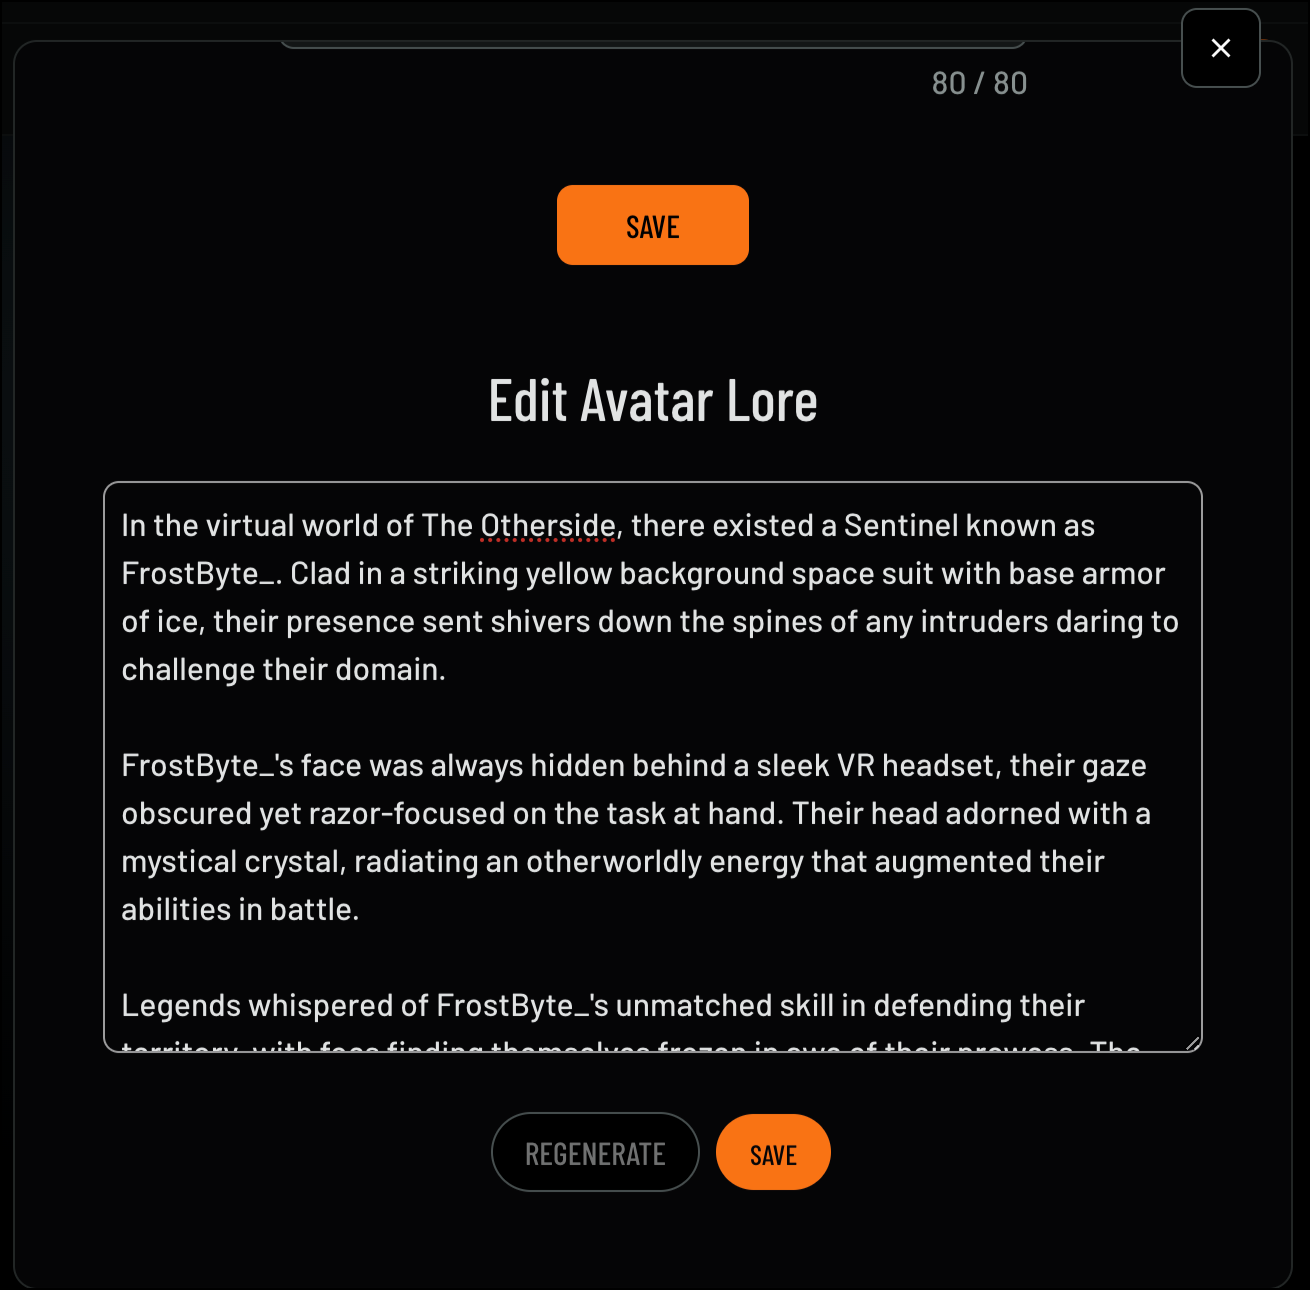
Lore allows you to add a background story to your Avatar. You can either create your own lore or generate one with the help of AI, based on your Avatar’s traits.Follow these steps to add or generate your Avatar’s lore:- If you want to create your own story, click Edit
- Begin typing your story
- Click Save to apply your changes
-
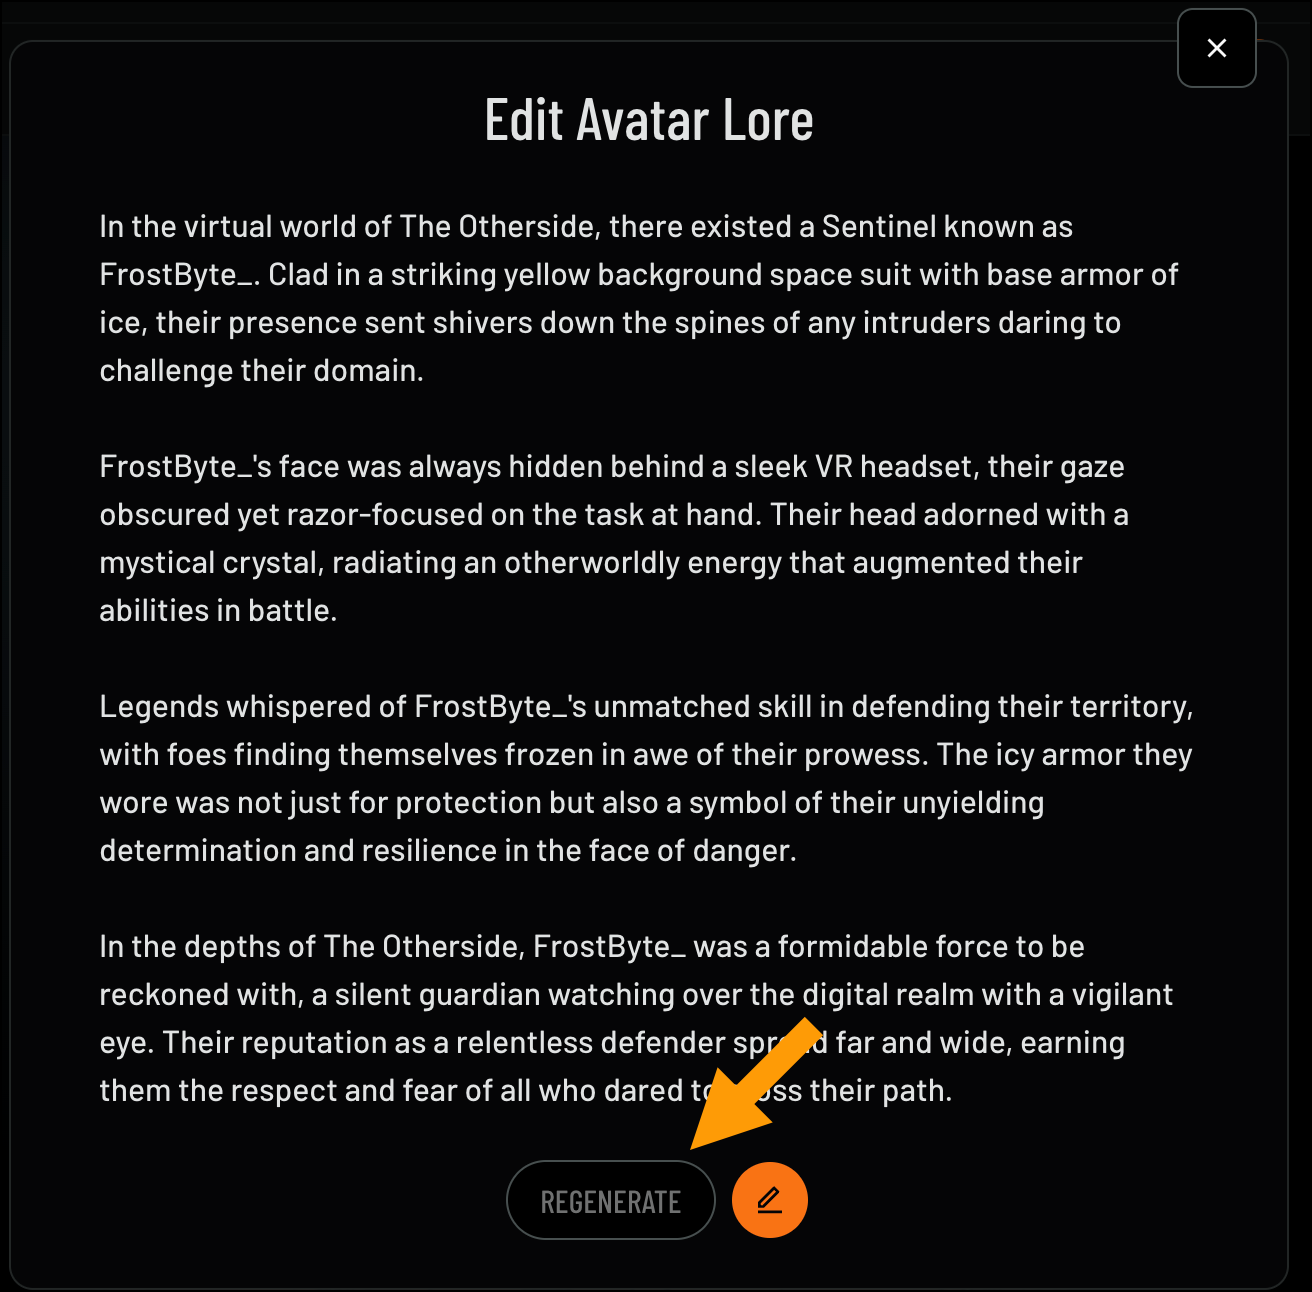
If you’d like to generate a story, click Regenerate
-
Click LFG! to generate a story, or choose Use Custom Prompt to provide a specific idea for the AI to work from
- Click Done to finalize your Avatar’s Lore
2. Inventory
2. Inventory
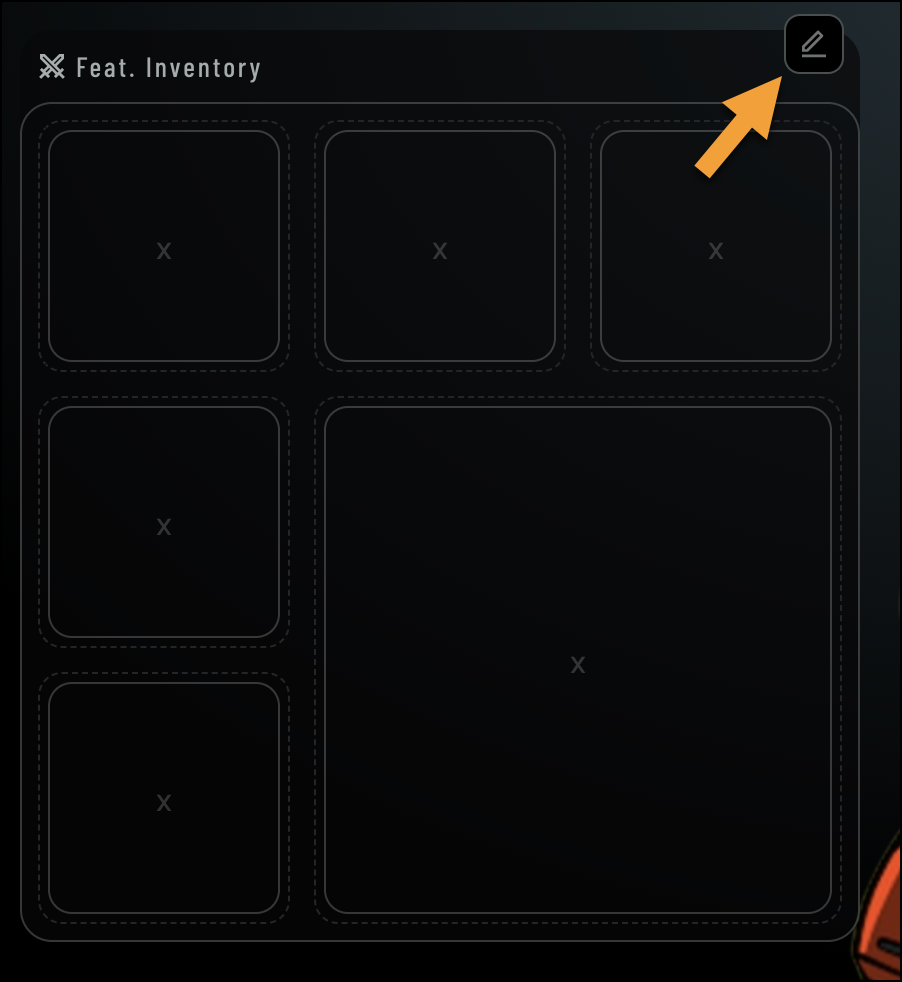
In this section, you can showcase the NFT items you’ve collected and display them on your profile. This allows you to feature your favorite digital assets and manage their visibility.To add NFT items to your profile, follow these steps:
- Navigate to the Inventory section
- Click Edit
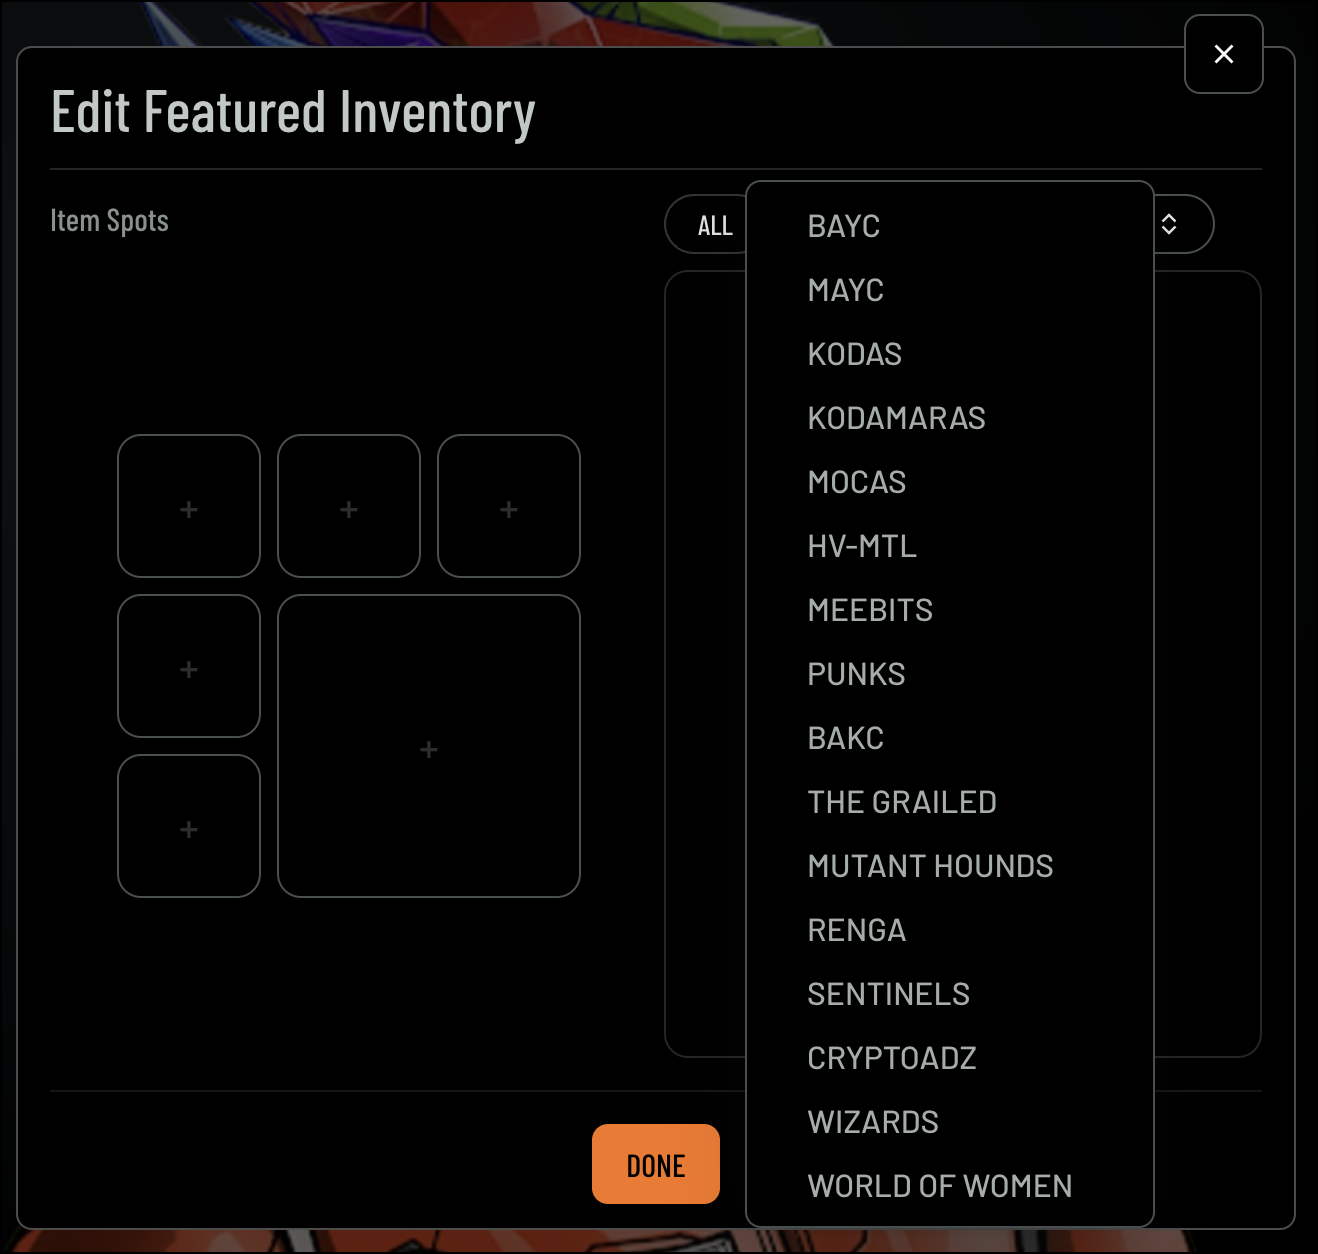
- Select the item you’d like to add
- Filter your selection by Avatar Collections and/or Items if needed
-
Avatar Collection:
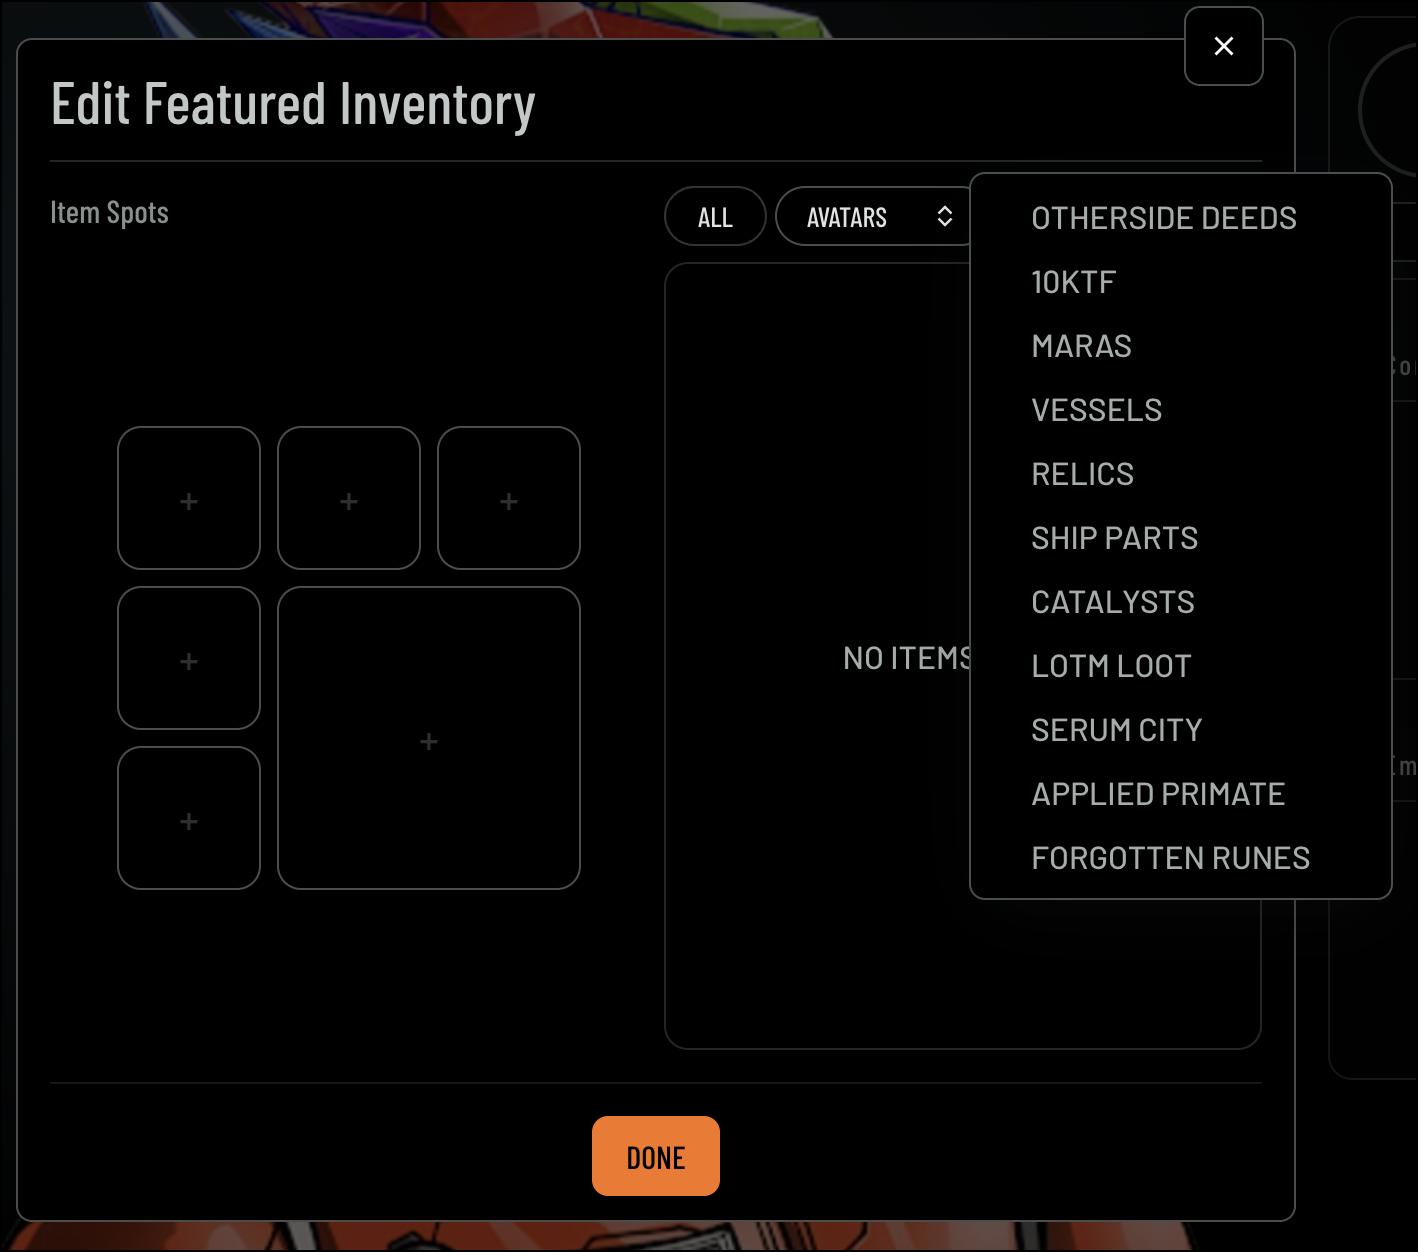
-
Items:
-
Avatar Collection:
- Click Done to finalize your changes
3. Avatar Profile Navigation
3. Avatar Profile Navigation
4. Badges
4. Badges
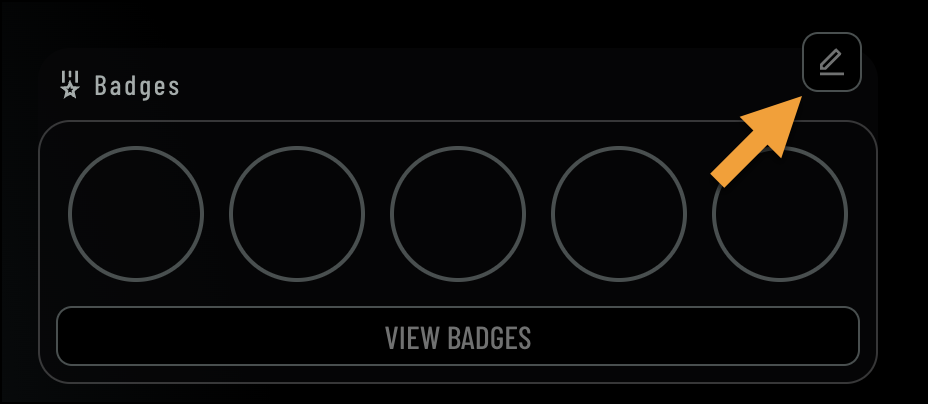
The Badge section allows you to showcase the badges you’ve earned across different experiences, highlighting your achievements on your profile. You can select which badges to display, giving visitors a visual summary of your accomplishments.To display badges on your profile, follow these steps:
- Navigate to the Badge section
- Click Edit
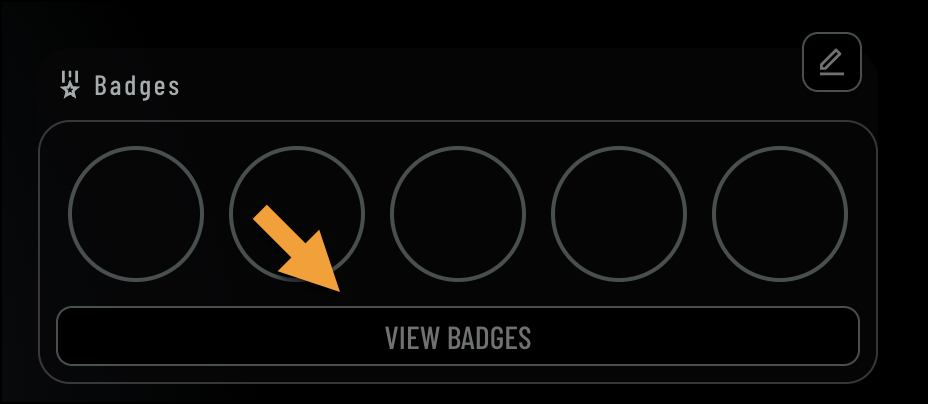
- Select the badges you’d like to display
- Click Done
5. Communities
5. Communities
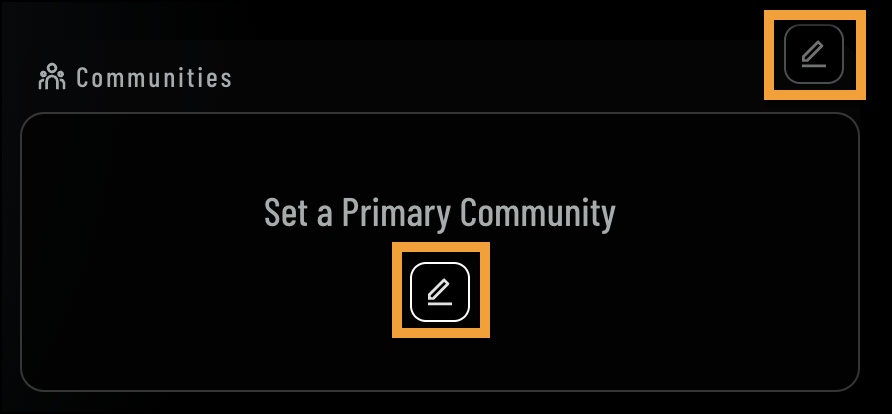
The Communities section allows you to add and manage the communities you’re part of, showcasing them on your profile. You can select your primary community and edit which communities are displayed.To add or edit communities on your profile, follow these steps:
- Navigate to the Communities section
- Click Edit
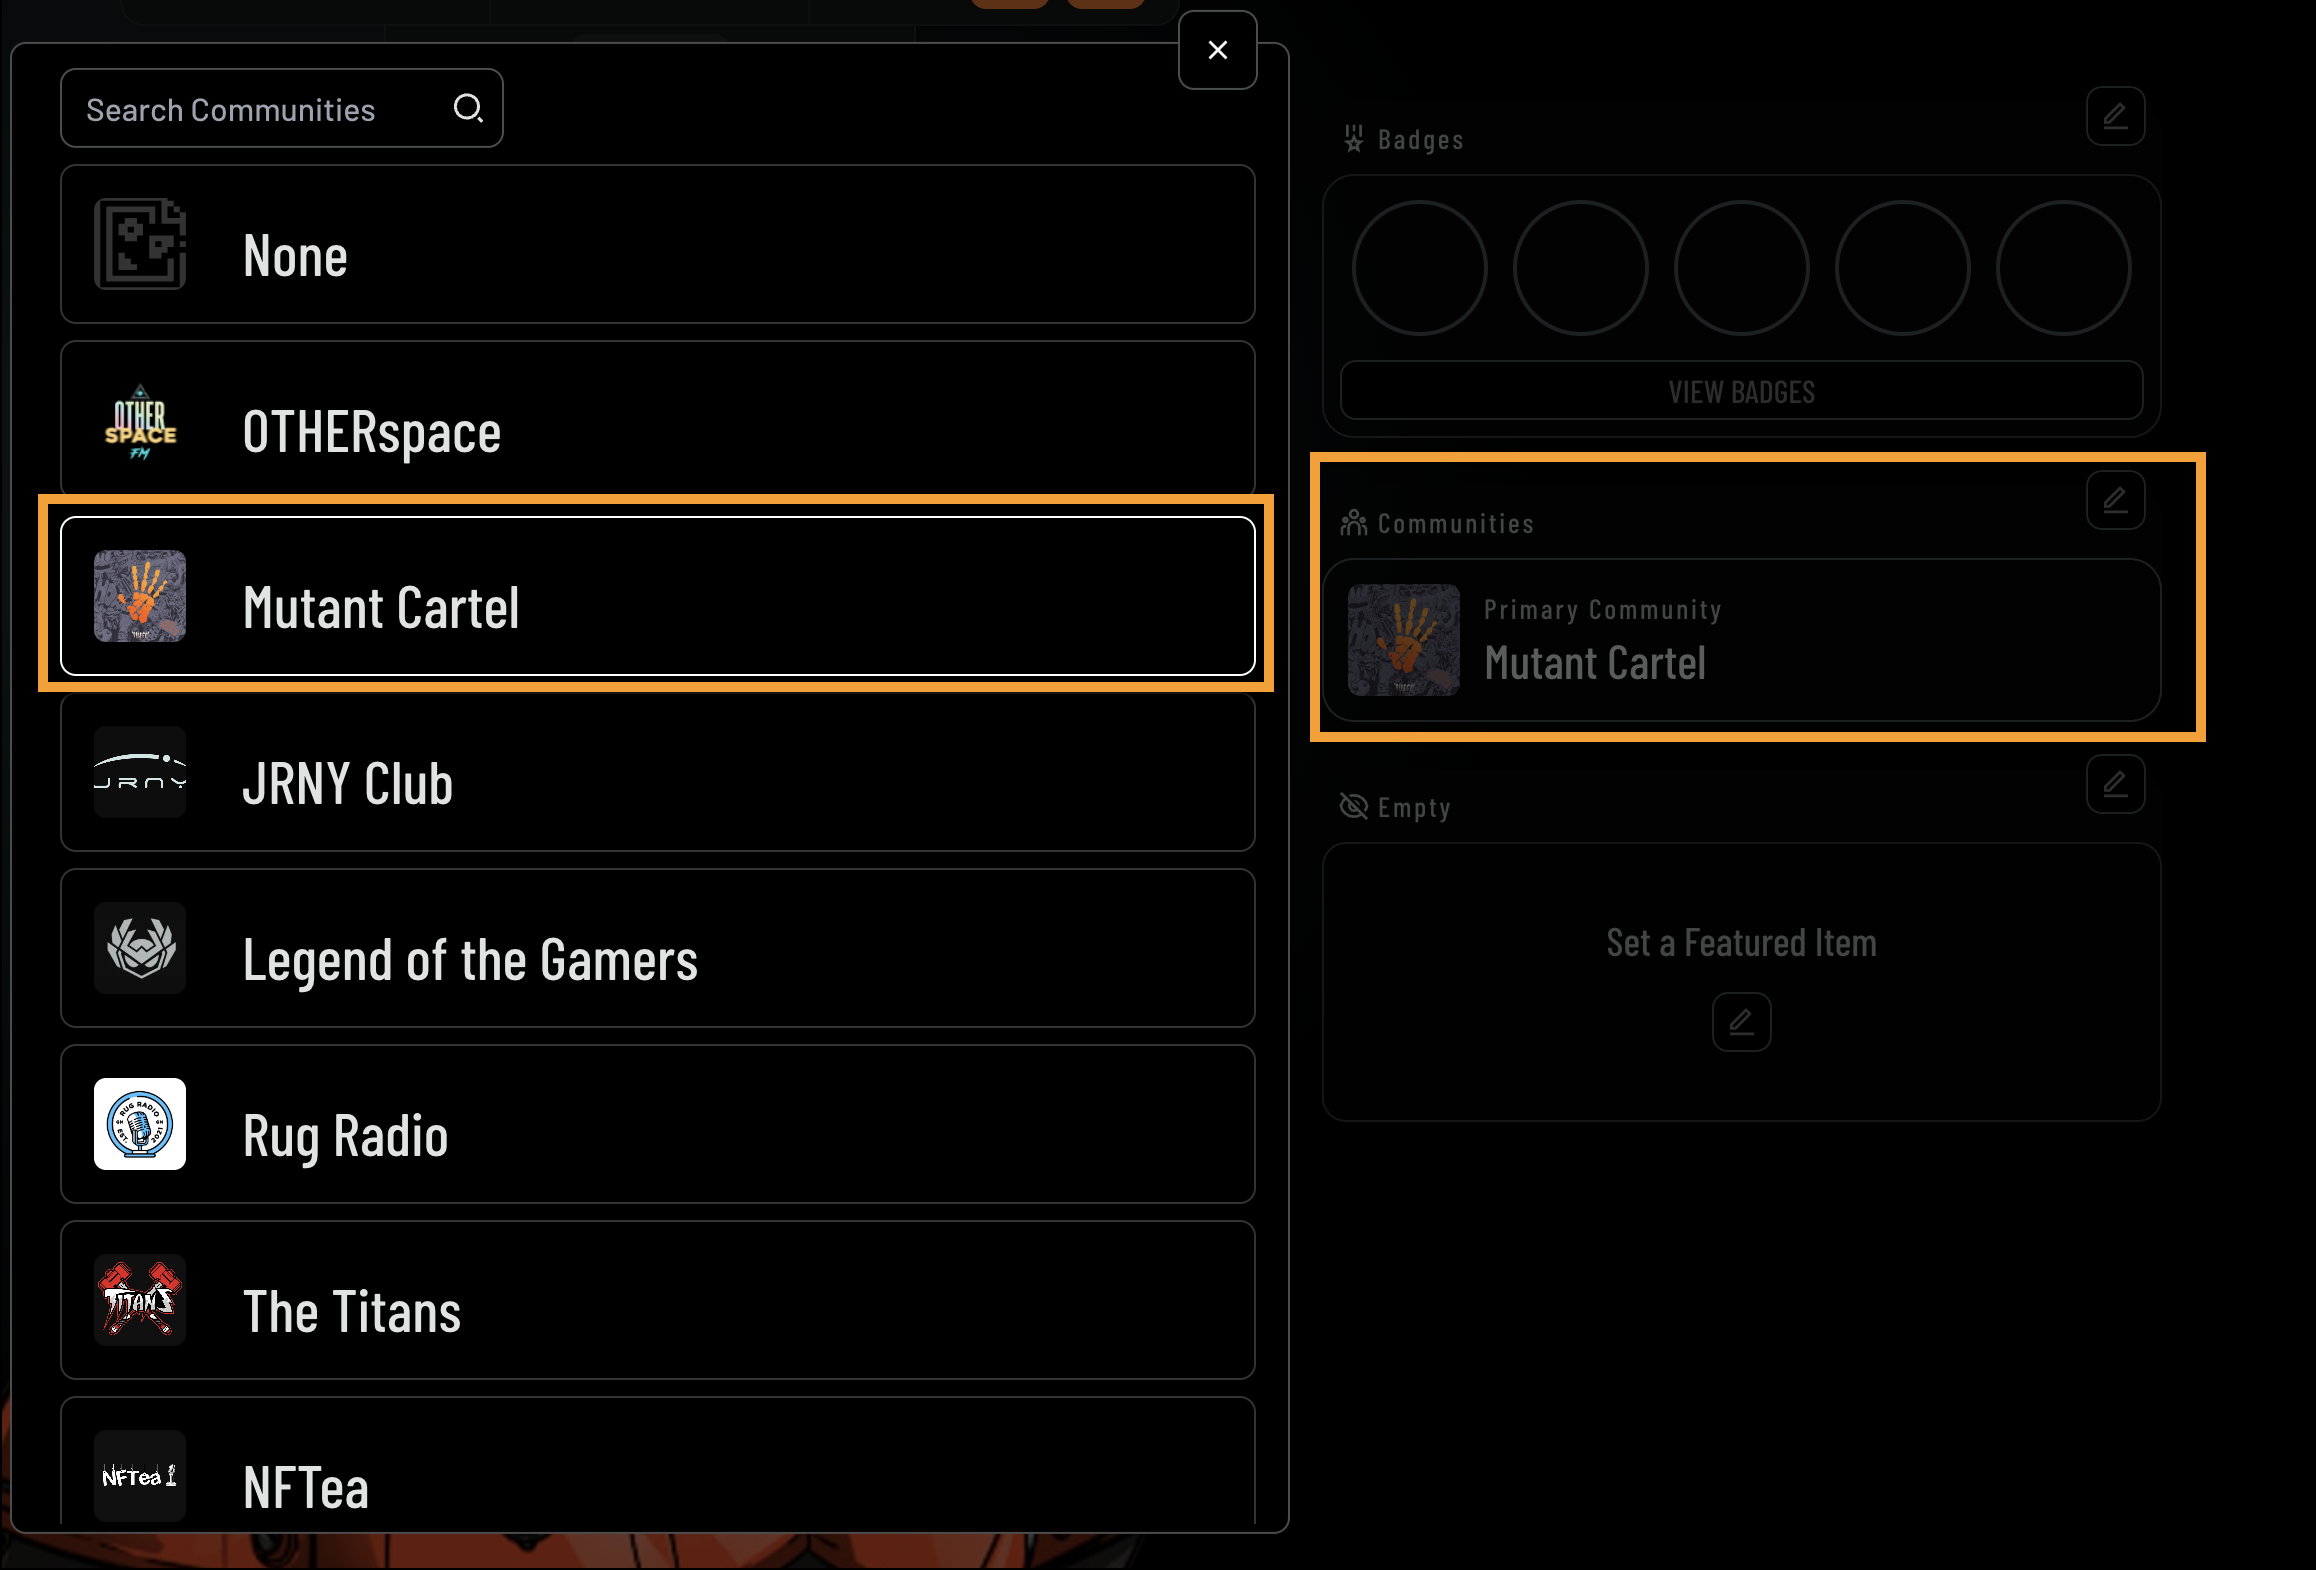
- Search for your community and select it
- You’ll notice your selected community will display under Communities
6. Featured Items
6. Featured Items
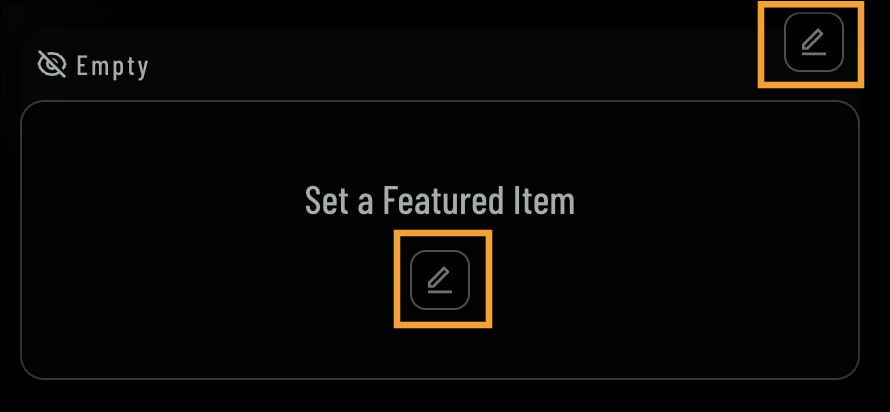
The Featured Item section allows you to highlight a specific NFT on your profile, making it stand out for visitors. You can choose any NFT from your collection to prominently feature.To set a featured item on your profile, follow these steps:
- Navigate to the Featured Items section
- Click Edit
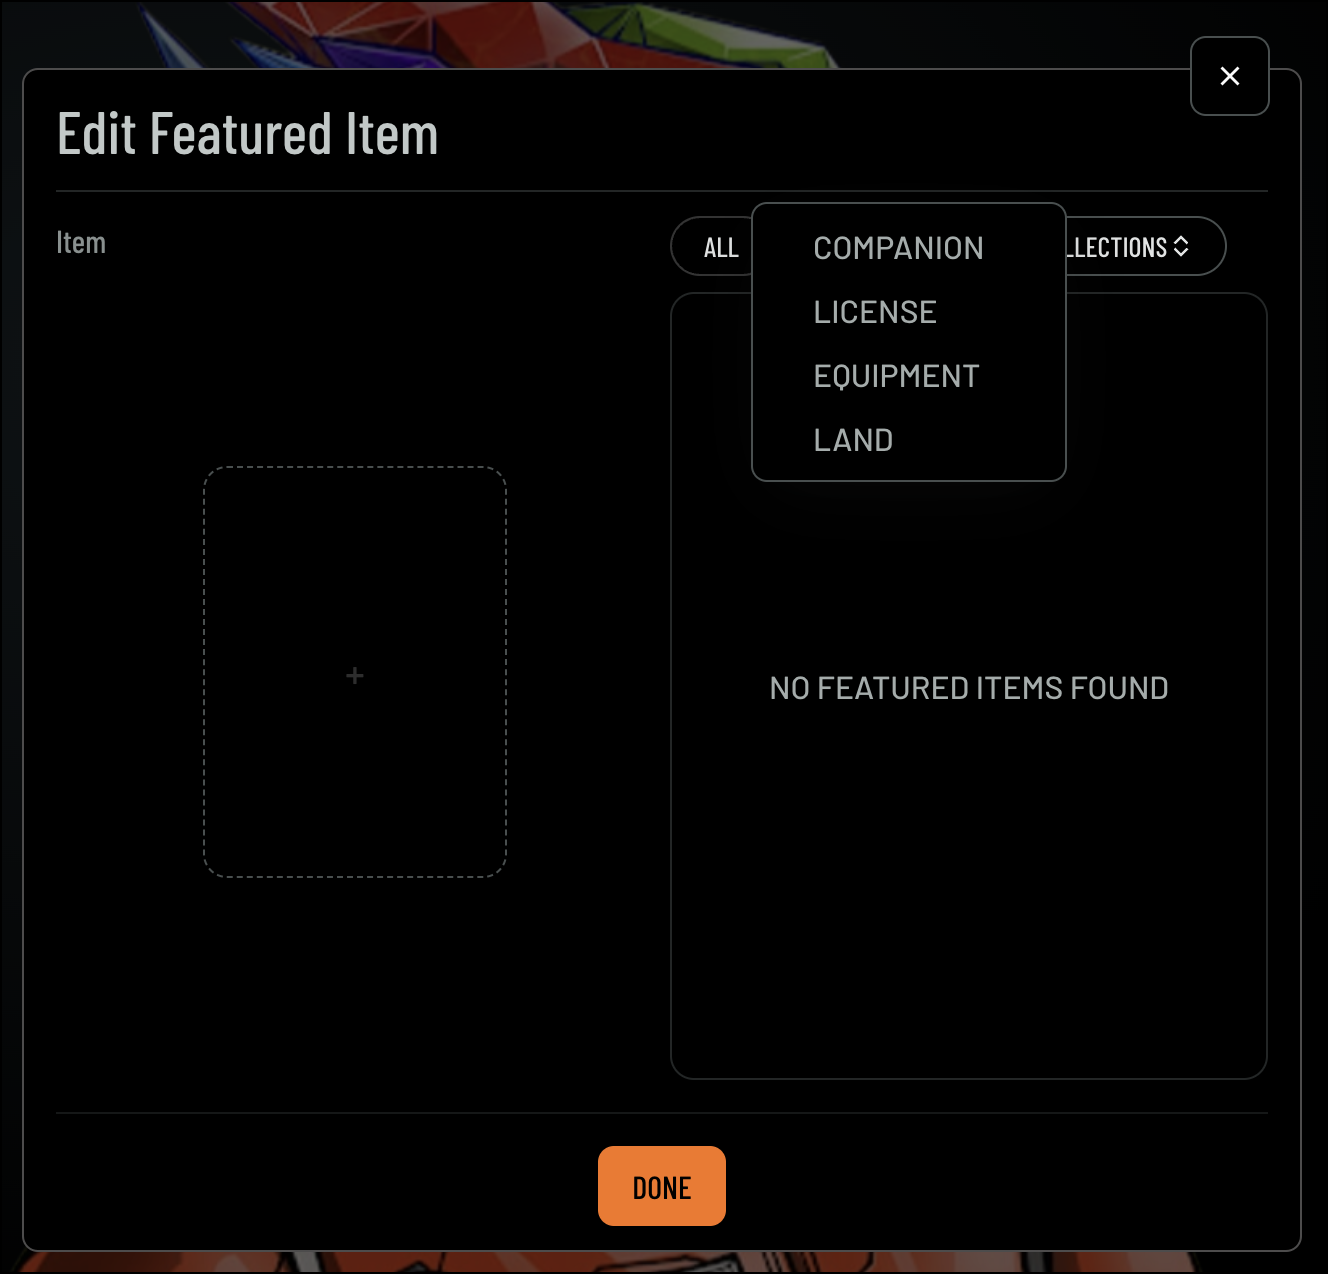
- Select the item you’d like to feature on your avatar page
- You can filter your selection by item type and avatar collection
- Type:
- Avatar Collection:
- Type:
- Click Done to apply your changes

Sharing your Avatar Profile Page
To share your Avatar Profile:- Navigate to Avatar Profile Navigation
- Click Share. The Share Page screen will display, allowing you to select your preferred sharing method.